
Raspberry PI as Z-Wave gateway using ZWave2MQTT
By choosing HeatIt Z-Wave thermostats to be used to control heating at summer home I need to install a Z-Wave network at my summer home. That means one more device (Z-Wave gateway) at my summer home, but also enables me to use other Z-Wave devices as well like smart smoke detector.
Z-Wave Gateway
I’m currently not having a separate Home Assistant instance running in my summer home, but a VPN connection to home directly instead. My devices are directly communicating with my one and only Home Assistant instance running back home, therefore I will need a physical gateway to forward my Z-Wave network data to another location.
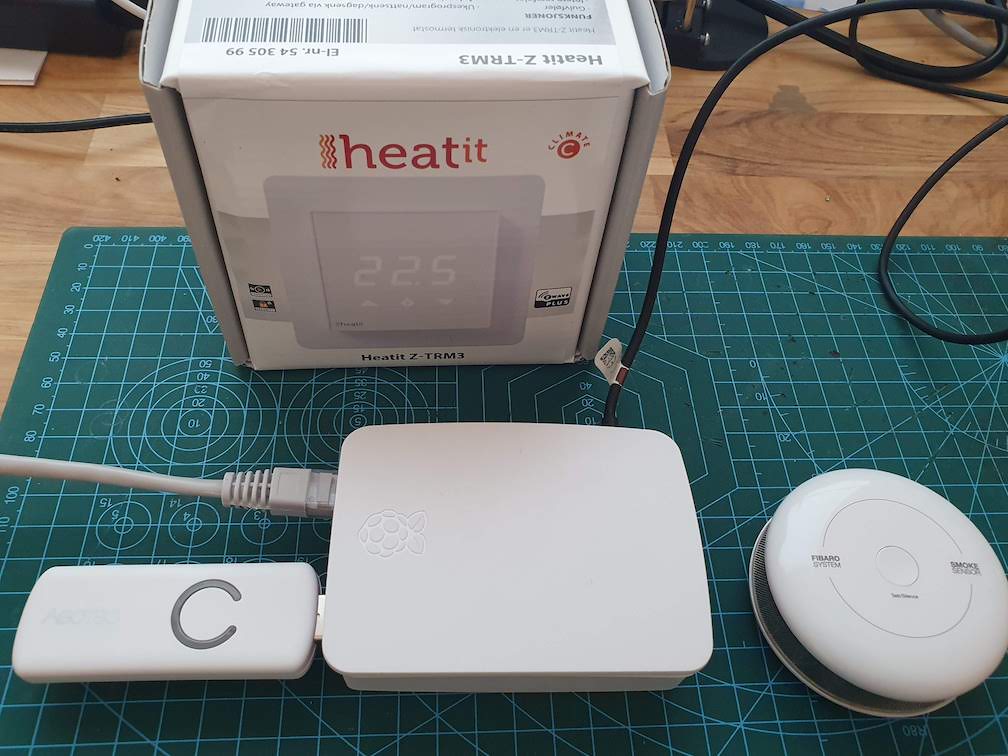
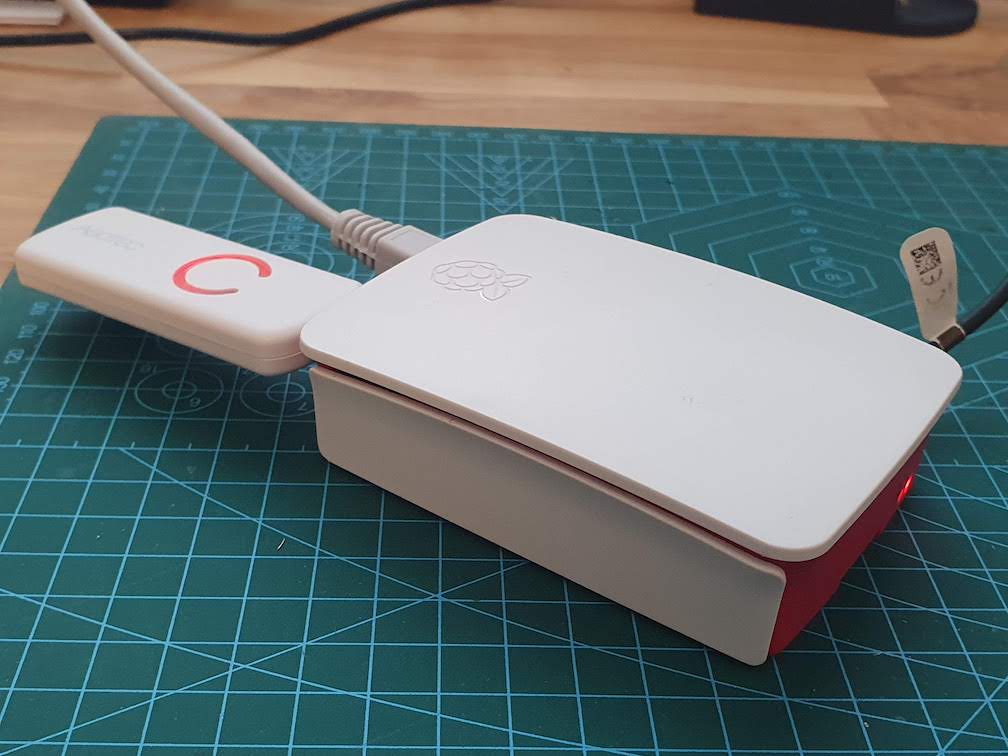
I have an old Raspberry Pi 3B+ lying around on the table so I decided to use that along with a new Aeotec Z-Wave stick gen5. For software part, ZWavejs2mqtt should do the trick. It will ‘convert’ my Z-Wave devices to MQTT/Home Assistant compatible and forward those to my MQTT broker at home.
Choosing Raspberry Pi image
First things first, a proper raspberry pi image is needed. I decided to use plain Raspberry Pi OS Lite to avoid unnecessary packages along with crappy UI features, since I won’t be having any display connected to the device.
Downloading the image and flashing it with RaspberryPi Imager to 32GB SD-card worked alright. Just to enable SSH by creating an empty file named ‘ssh’ into SD-card ‘boot’.
All done! Flashing is nice and easy with Raspberry PI Imager software. Now to power it up!
Note: I’m currently using SD card, but might be swapping to SSD later on. SD card is not reliable enough in a long run and might get easily corrupted or even broken while doing constant writing to the SD card memory. Another thing is to have strong enough power supply. At least 5V/2A is needed without any external devices added.
Installing ZWave2MQTT
Ok, so the Raspbian OS is now booted up and ready to run. I’m installing ZWave2mqtt as a docker container to easily manage it’s backups in case of broken SD card. But before going into that, I’m changing the default password to something else by calling command ‘passwd‘ and then upgrading the system with ‘apt update && apt dist-upgrade‘.
Also device name and timezone should be configured properly using command ‘raspi-config‘.
Installing dependencies
Before start installing ZWave2MQTT, I need to install docker, docker-compose and all the dependencies needed by those softwares. That can be done that by calling following commands:
cd ~
curl -fsSL https://get.docker.com -o get-docker.sh
sudo sh get-docker.sh
sudo usermod -aG docker pi
sudo apt install python3
sudo apt install python3.pip
sudo pip3 -v install docker-compose
However, on my Raspbian OS and Raspberry Pi 3B+ I got following docker-ce installation error:
dpkg: error processing package docker-ce (--configure):
 installed docker-ce package post-installation script subprocess returned error exit status 1
Errors were encountered while processing:
 docker-ce
E: Sub-process /usr/bin/dpkg returned an error code (1)
By looking more closely the error by calling ‘journalctl -u docker.service‘ it seems like my kernel does not support cgroup memory limit:
Sep 13 17:38:11 raspberrypi dockerd[6631]: time="2021-09-13T17:38:11.933758328+01:00" level=warning msg="Your kernel does not support cgroup memory limit"This is an kernel issue that can be solved by enabling cgroup memory and swap account. That can be done by editing ‘/boot/cmdline.txt‘ and adding following lines in it:
cgroup_enable=memory cgroup_memory=1 swapaccount=1Ok.. now after boot it seems that docker can be installed properly (apt-get upgrade) and all seems to be ok!
Note: These issues are heavily dependant of the Linux distribution and Raspberry PI HW versions.
Installing ZWave2MQTT as docker container
ZWave2MQTT Docker container installation is rather simple when all the enablers are in place. Just running these commands I got the software installed:
cd ~
mkdir zwavejs2mqtt
cd zwavejs2mqtt
curl -fsSL https://raw.githubusercontent.com/zwave-js/zwavejs2mqtt/master/docker/docker-compose.yml -o docker-compose.yml
Before starting the container, I verified ‘docker-compose.yaml‘ file that my Aeotec Z-Wave USB device that is being forwarded to the container has proper USB address: ‘/dev/ttyACM0:/dev/ttyACM0‘. Seems good!
Starting the docker container:
sudo docker-compose up -dBy calling that command, it will start the container as a daemon and since ‘docker-compose.yaml‘ has restart set as ‘always‘ the container will start automatically at reboot. So no need to worry about power loss/restart either.
Configuring ZWave2MQTT
Next step is of course to configure the ZWave2MQTT. So navigating to http://<raspberrypi.ip.address>:8091/ with a browser should give ZWave2MQTT web page.
Configure ZWave:
Going to Z-Wave configuration: only need only to configure Z-Wave device address (I’m using external USB device so it’s /dev/ttyACM0) and network key for authenticated devices. When not migrating from old secured system, but pairing everything again, a new key can be generated from the button next to S2 authenticated field.

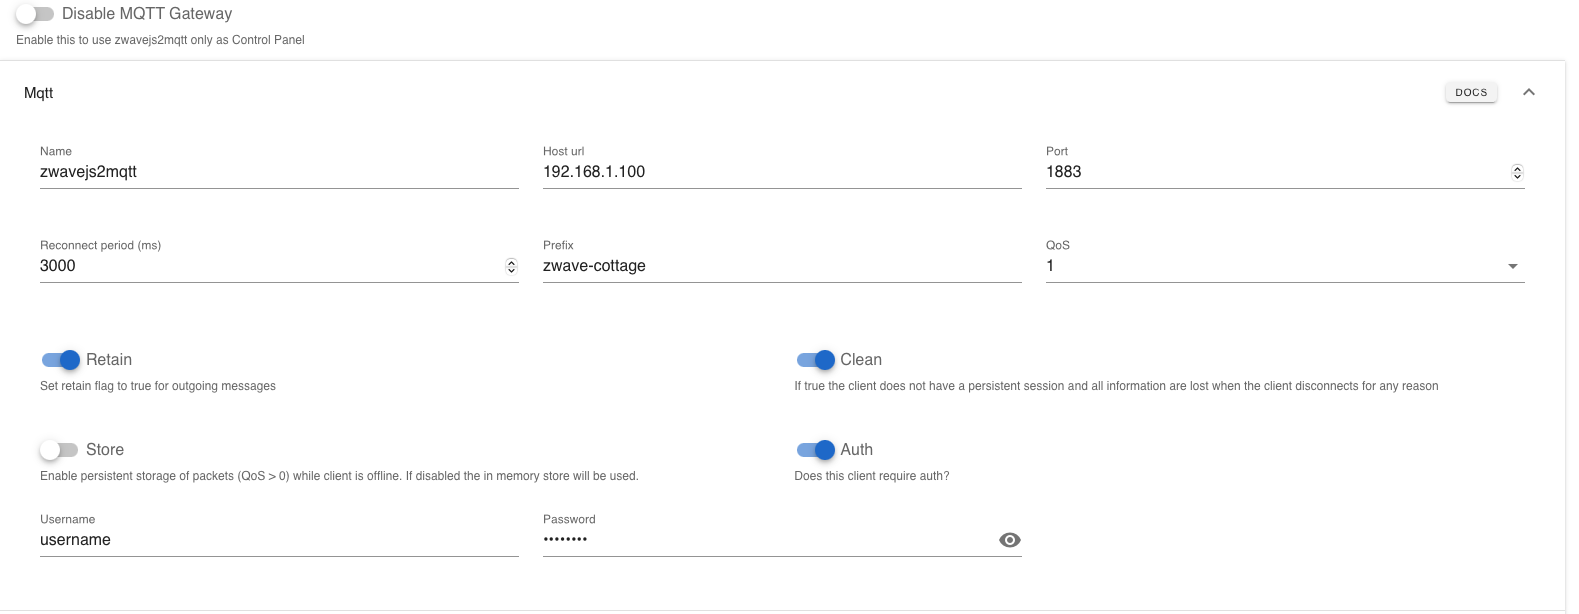
Configure MQTT:
MQTT configurations are located at MQTT section. Just need to set up a broker address (the broker IP back home), authentication username and password. I also changed the topic prefix in order to better identify devices from MQTT client and/or home assistant.
Ok.. now just save and I see data coming in to MQTT broker from the remote Z-Wave network. Great success so far!
Looking for a device…
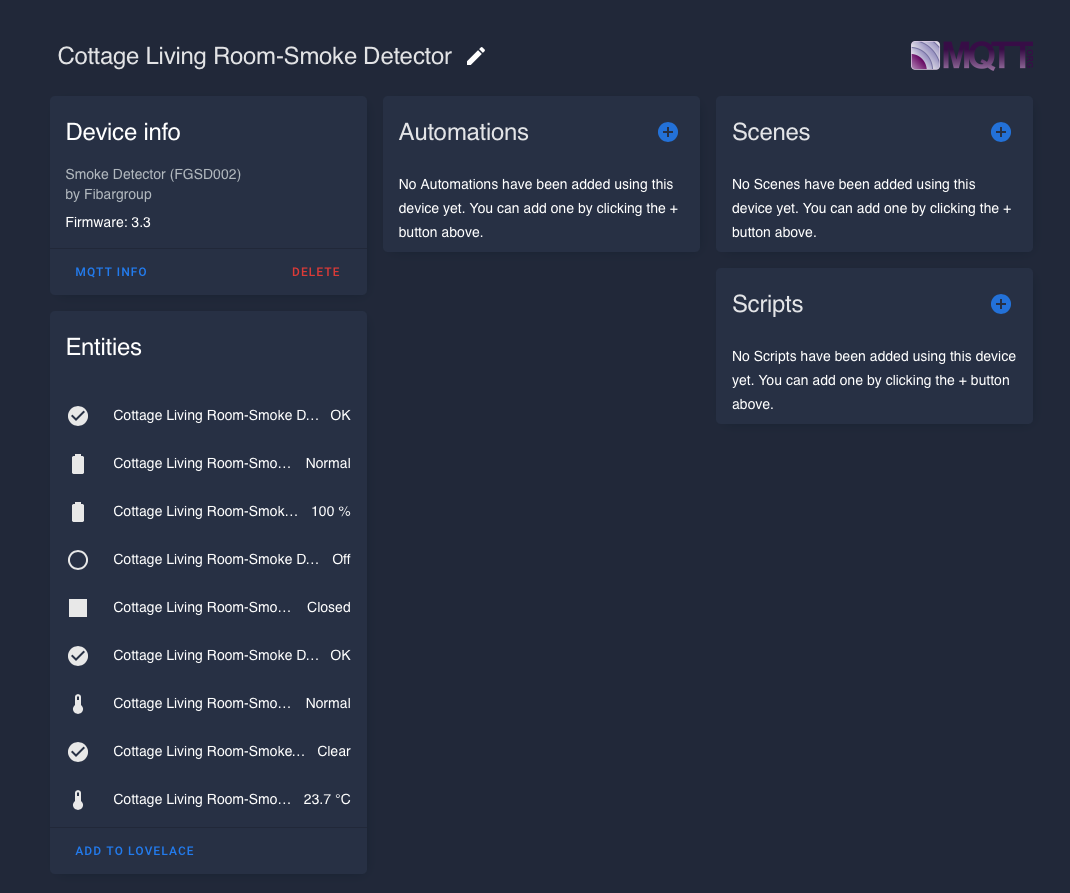
Pairing a device with ZWave2MQTT is done through ‘Control Panel -> Actions -> Manage Nodes -> Inclusion’. For the first device I’m using a Fibaro Smoke Detector FGSD002.
After clicking the inclusion button in the UI, I triple-clicked the Test/Silence button in Smoke Detector that sets it to inclusion mode as well. The device is found and paired successfully. Now just rename the device and add a location for easier identifications.
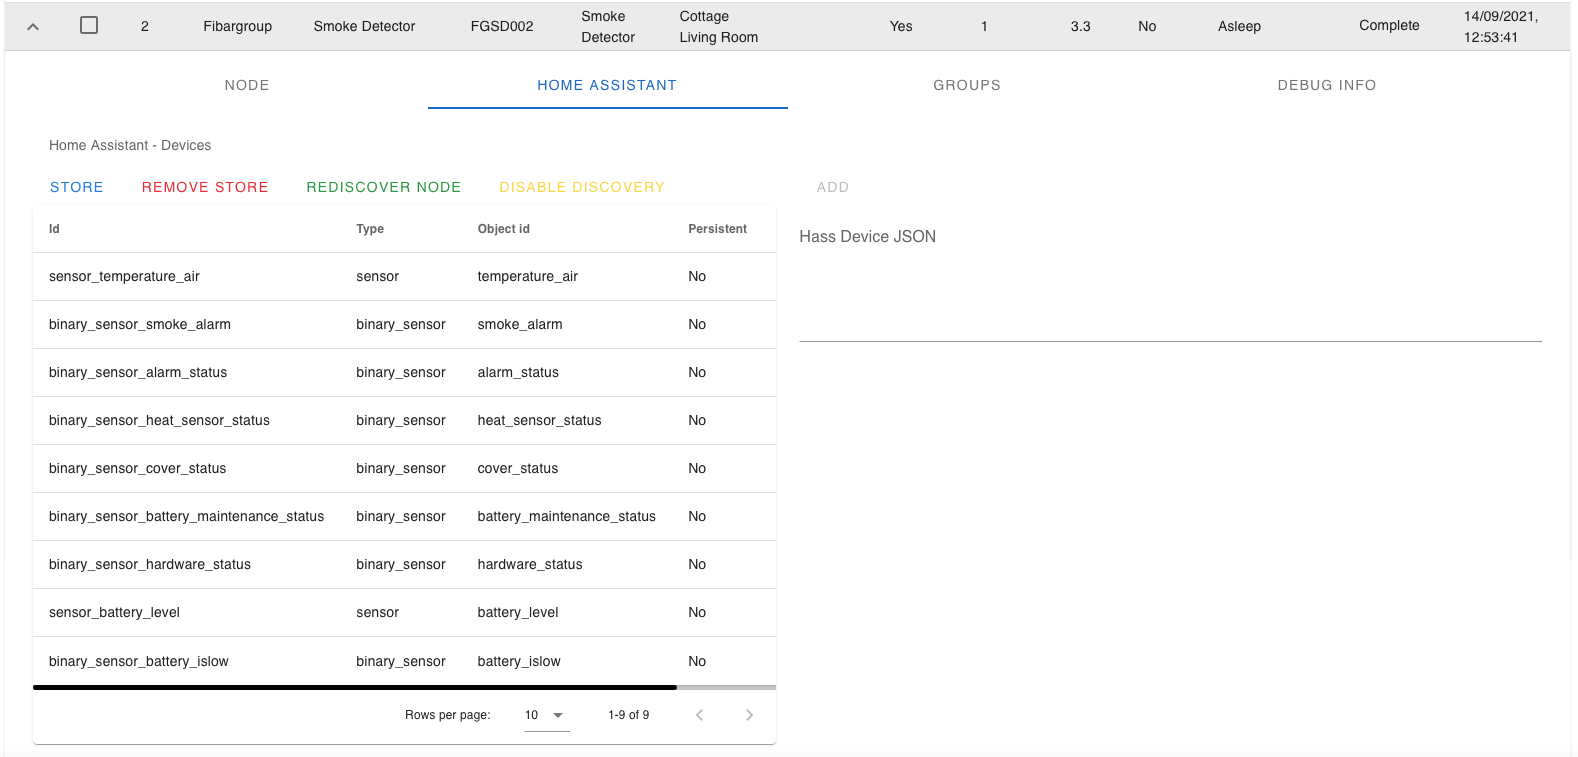
Suddenly, a problem: Zigbee2MQTT gateway is already informed Home Assistant auto discovery with the old name and is now found as name Node_2.. so that’s not good. A bit of searching I finally found place from Zigbee2mqtt node manager a place called ‘Home Assistant’ and a button named ‘Rediscover’. Clicking it will send new auto discovery message to MQTT broker and a device with new name is broadcasted and found by Home Assistant.
Old one can now be removed from HA (Node_2).
Conclusion
Now I got my Z-Wave gateway ready to be transferred to the summer home. On this Friday an electrician will come and install my HeatIt Floor Thermostats, so I will be moving my ready-made gateway in place that day as well.
Stay tuned for update and my initial reactions how do the thermostats work through remote gateway.
Well, I got the control panel and the 6 zwave devices show.
But what now? I don’t use Home Assistant. I have webpages for my devices and communication via mqtt.
I thought I could install zwavejs2mqtt and then subscribe and publish to topics.
Am I missing something? I don’t know what the topics might be or the package.
Maybe if I could find a manual that documented the control panel and other options I might figure this out.
My guide is only that so far to get the communication running from z-wave devices to MQTT and does not take part of the actual client usage.
In the client part you need some kind of integration to subscribe/publish to proper MQTT topics.
If you are using custom self-made web-page you probably need to build the integration yourself.
There’s a nice documentation of the zwavejs2mqtt MQTT topics/messages in here: https://zwave-js.github.io/zwavejs2mqtt/#/guide/mqtt
Hopefully that will get you forward.
(and of course you can use the zwave2mqtt interface itself, but it’s not very user friendly to be used as is)
Hello,
Thank you for this tutorial.
I started to apply it but in the docker-compose.yml there is a field i don’t really understand.
…/…
environment:
– SESSION_SECRET=mysupersecretkey
…/…
I suppose that this field concerns MQTT secure, but not sure
the secure of my MQTT broker is made by a couple ID/PWD and not only by one single field
Could you explain me if this field is really about MQTT server?
Thank you in advance
Best regards
LB
Hi!
zwave-js-ui (prev. ZWaveJS2MQTT) is based on expressjs and expressjs requires a secret key for session encryption.
This has ‘nothing’ to do with the MQTT auth itself.
More tech details can be found from these 🙂
https://github.com/expressjs/session#secret
https://github.com/zwave-js/zwave-js-ui/issues/1077