
Guide: Backing up Solar Assistant automatically
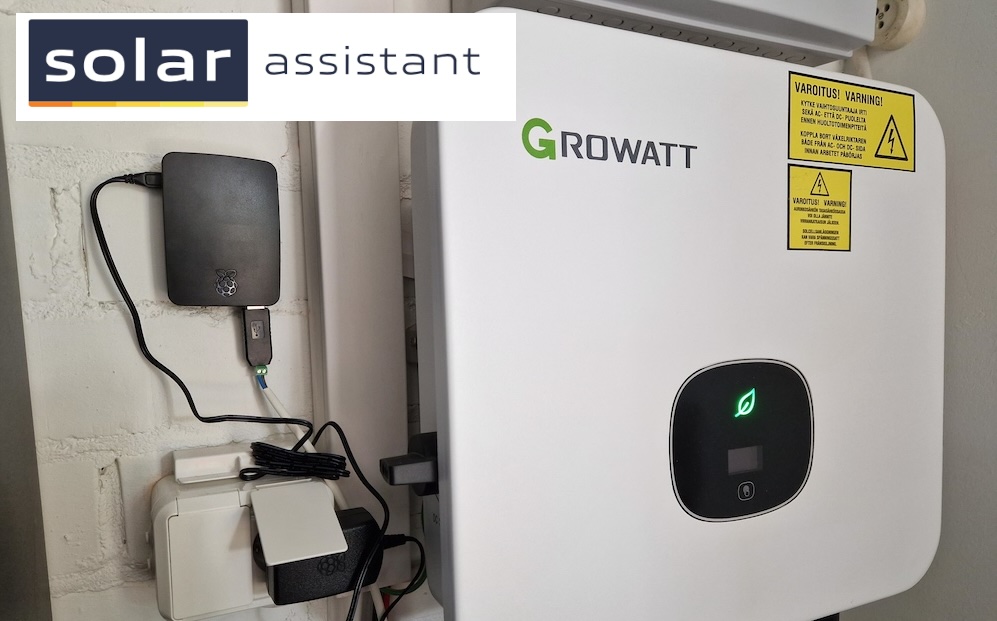
I must admit, I’m a Solar Assistant fan nowadays, even though I originally found it to be a somewhat unnecessary addition that could be easily replaced by an ESP32 or something smaller. For those unfamiliar with Solar Assistant, it’s a custom data logger for solar inverters and batteries that uses InfluxDB as its internal storage. I wrote about my initial experiments with it a few years ago, and it’s still up and running full-time.
As many of you know, backing up data is essential. A Raspberry Pi, especially one with an SD card, is doomed to fail sooner or later. By default, Solar Assistant does not support automatic backups, requiring the user to download the backup file manually from the web UI.
Fortunately, with the release of 64-bit support, Solar Assistant now also includes SSH connectivity. We can leverage this to automate backups to a NAS drive or a similar storage solution. This guide will provide a brief introduction on how to map a NAS drive to your Solar Assistant instance. Of course, using an external HDD or another storage method is also possible.
Prerequisites
If you’re still running the original 32-bit version of Solar Assistant, you must update to the 64-bit version. The 32-bit version does not have an active SSH service and will not be receiving one. Your only option is to manually back up your data once, upgrade to the 64-bit version, and then restore the backup. The 64-bit version of Solar Assistant is available for download from their website (account + login required).
Another obvious requirement is an external hard drive or a separate network share to store the backups externally.
Mounting to network drive using NFS
Once SSH is enabled and ready to use (check their ssh access guide for more information), a network share needs to be mapped as part of the solar-assistant system. In my setup, I’m using a share from my QNAP NAS as an NFS mount
First, create a mounting directory on your /mnt directory by calling mkdir /mnt/backup.
Once the directory exists, add an automatic mount by editing the fstab configuration with ‘nano /etc/fstab‘
Here is my mounting configuration in the fstab file:
#device        mountpoint             fstype    options  dump   fsck
192.168.1.100:/backup_database /mnt/backup nfs defaults 0 0
I won’t go through the specifics of QNAP sharing, as everyone’s environment is different, and that part of the guide might not be suitable for all. A quick Google search will show you how to create a share in your specific backup environment 🙂
The backup script
Now for the main event: the automatic backup script! By default, the script will store three days’ worth of backups, but this retention period is configurable. You only need to change the BACKUP_DIR variable to the location where you created the mount.
Place the script in your home directory and ensure the user has the proper permissions to write to the mounted backup folder.
#!/bin/bash

TIMESTAMP=$(date +%Y%m%d%H%M%S)
BACKUP_DIR="/mnt/backup/solar-assistant"
RETENTION_DAYS=3

# Create backup directory if not existing
if [ ! -d $BACKUP_DIR ]; then
    mkdir -p $BACKUP_DIR
fi

# Backup file name
BACKUP_FILE="$BACKUP_DIR/influxdb_backup_solar-assistant_${TIMESTAMP}"

# Execute InfluxDB backup
influxd backup -portable $BACKUP_FILE

# Check if the successful
if [ -d "$BACKUP_FILE" ]; then
    echo "Backup for solar-assistant successful. Backup files are stored in: $BACKUP_FILE"
else
    echo "Error creating backup for solar-assistant. Old backups were not deleted!"
    exit 0
fi

# Delete older backups
find $BACKUP_DIR -type d -mtime +$RETENTION_DAYS -exec rm -rf {} \;

echo "Older than $RETENTION_DAYS days have been removed."
Test the script by running bash auto-backup.sh (or whatever you named it) and ensure the backup is created in your desired folder.
Automating Backups with Crontab
Once the backup script is in place and verified to be working, we just need to run it automatically. For this, we can leverage the power of crontab. To edit your crontab, simply type crontab -e.
Add the following line to the crontab file:
5 0 * * * bash /home/solar-assistant/auto-backup.sh
This crontab entry will run the backup script every day at 00:05. You can change the time as needed. Exit crontab by pressing CTRL+X and save the modifications. That’s it! Just keep an eye on your backup folder for a few days to verify that everything is working as expected.
Thank you for your post, it saves me a lot of time in my life 🙂 . But I have to leave some notes here:
1. SA doesn’t have mount.nfs tool by default, you have to install nsf-common package manually to allow mount NFS partition.
2. You need to update your script or cron with logging (and of course, log rotation). That will make life much easier 🙂 .
3. The result of backup can’t be used in SA UI directly for restore, because it must be compressed in zip file (as SA does)
Thanks for your comments!
I must have installed nfs-common previously and missed the missing dependency while doing this backup option. Excellent point! 🙂
And for the rest of your comments, my implementation isn’t even close for perfect so thank you very much for these tips! 🙂
Restoration needs to be done currently with influxdb command as well.
This was very useful! Thanks!
If I may add a bit more:
Make sure to do this as the “solar_assistant” user.
For restoring your DB from the CLI:
1. Make sure you have your NFS mount and a your backups available.
2. Drop any existing “solar_assistant” influx DB using the influx CLI:
influx
Connected to http://localhost:8086 version 1.8.10
InfluxDB shell version: 1.8.10
> show databases;
name: databases
name
—-
solar_assistant
> drop database solar_assistant;
3. Restore the DB from one of your backups:
influxd restore -portable /mnt/backup/path-to-desired/backup/
You should now see all your data in the SolarAssistant UI again.