
Home Assistant: How to Track Low Batteries (With Auto-Entities & Battery Notes)
I think everyone has bumped into this at some point — an automation stops working, or a sensor’s data hasn’t updated in days, and the reason turns out to be a dead battery… again. I finally got tired of chasing down dead batteries one device at a time and decided to do something about it properly.
I have 51 battery-powered devices scattered around my house that I need to keep track of — door sensors, motion sensors, dimmer switches, leak detectors, smoke detectors, plant sensors, you name it. In this article I’ll walk through the setup I built to catch low batteries before they die on me, instead of finding out the hard way when something stops reporting.
I’m using a couple of Home Assistant custom components to pull this off: the auto-entities card and the Battery Notes integration. Here’s how they fit together.
Battery Notes integration
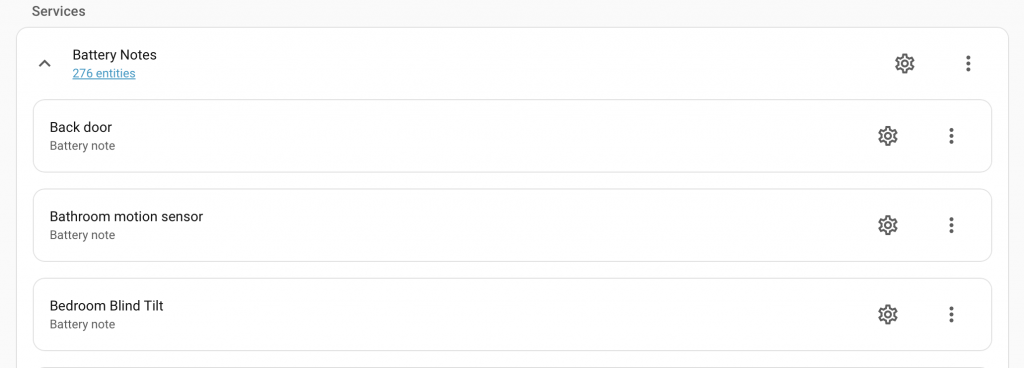
This is a brilliant integration. Battery notes integration scans your battery-powered devices and “extends” them with extra data — most importantly, the battery type — which turns out to be essential once you get to the end result (more on that later).
Battery Notes tries to automatically figure out the battery type from a community-maintained device library, and to its credit, it got quite a few of mine right without any input from me. But it couldn’t identify everything — in my case, I had to manually add 31 of my devices to the integration myself after the initial autodiscovery pass.
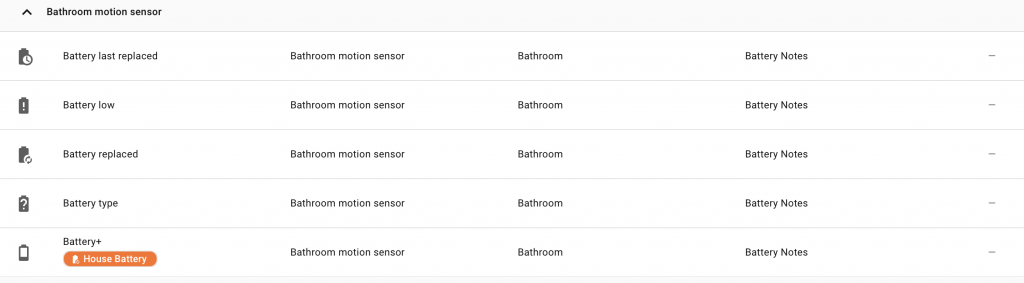
Each device you add gets a companion _plus sensor entity — mine look like sensor.multi_sensor_utility_room_battery_plus, for example. This entity mirrors the original battery percentage, but carries extra attributes alongside it, like battery_type and battery_type_and_quantity. That second one is the attribute that ends up doing the heavy lifting later in this article — it’s the difference between a dashboard that tells you “27%” and one that tells you “27% — go grab a CR2032.”
Auto-entities card
Auto-entities is a card that dynamically builds a list of entities based on a filter, instead of you hand-typing every entity_id into your dashboard config. Rather than maintaining a fixed list of 50-odd sensors and manually appending every new device I buy, I let the card do the filtering for me at render time.
The filter isn’t limited to matching entity_ids or domains — it can match on state, on attributes, and (crucially for this setup) on labels. You can also sort the resulting list by state, which means I can have my “worst battery first” ordering fall out for free, rather than me manually re-sorting a list every time a battery drains further.
The other piece that makes this work well is that auto-entities lets you override how each matched entity renders, via an options block. That’s what lets me point the filtered results at a specific custom row type (more on this in the “Needs attention” section below) instead of settling for the plain default row.
The labelling approach
Here’s the part I think matters most: I’m not filtering by entity type or device_class. I’m filtering by label.
My first instinct was to just match on device_class: battery, since every battery-percentage sensor in Home Assistant carries that class. But that net catches everything with a battery — my phone, my smartwatch, my electric toothbrush, the Tesla, the Peugeot, even the robot mower. None of those are things I want cluttering up a “go buy a battery” list. A dead phone battery is my problem to charge, not a CR2032 I need to add to a shopping list.
So instead, I created a label called house_battery and applied it only to the actual battery-powered devices around the house — the sensors, switches, and detectors that would otherwise silently stop working. Anything I don’t want tracked (vehicles, personal electronics, anything with its own charging routine) simply never gets the label.
The nice side effect: adding a new battery device to the setup is now a two-second job. I don’t touch any dashboard YAML at all — I just find the entity in Settings → Devices & Services → Entities, add the house_battery label, and it’s automatically picked up everywhere that filters on that label. No more remembering to update three different dashboard cards every time I add a sensor.
‘Needs attention’ section
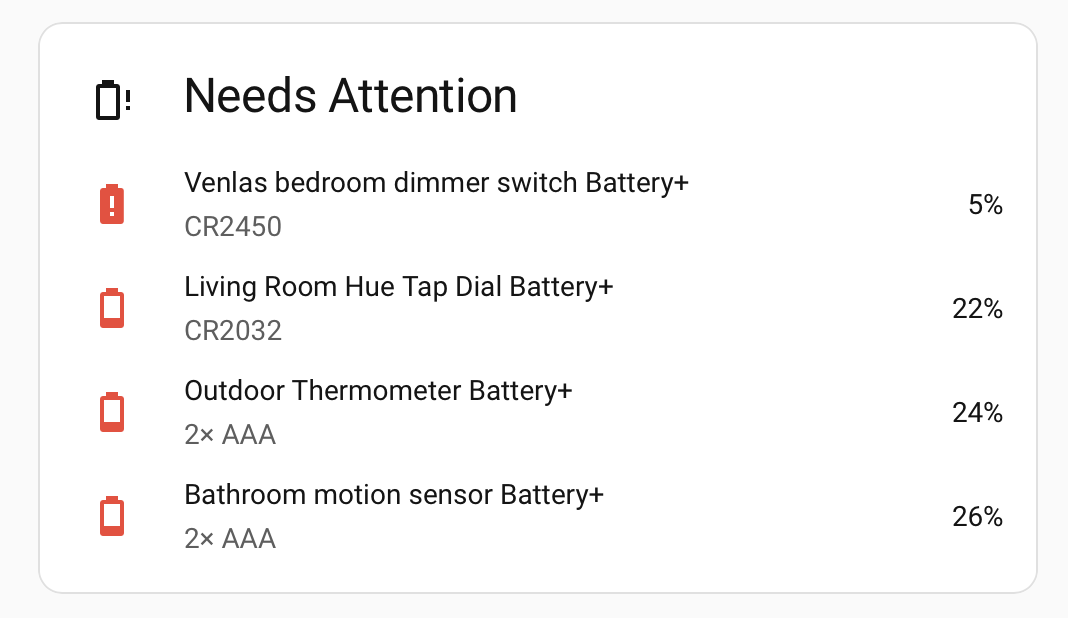
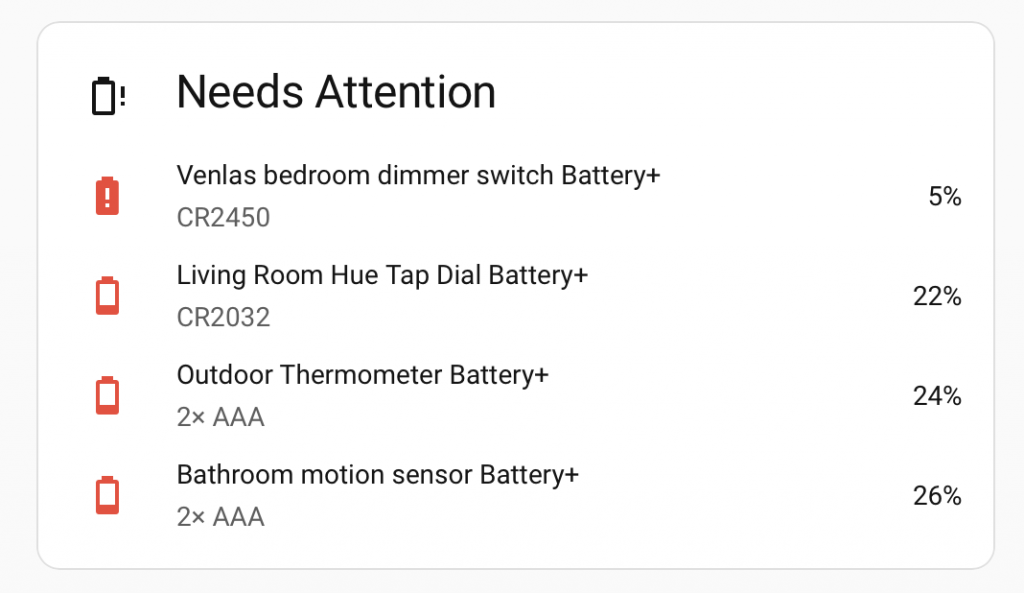
This is the beef of the whole setup. The “Needs Attention” section is a card that lists every house_battery-labelled device currently sitting below 25%, sorted so the most urgent one is always at the top. When nothing is low, the card simply doesn’t render any rows at all — no empty “0 results” clutter.
yaml
type: custom:auto-entities
card:
  type: entities
  title: Needs Attention
  icon: mdi:battery-alert-variant-outline
  state_color: true
  show_header_toggle: false
show_empty: false
filter:
  include:
    - label: house_battery
      state: "< 25"
      options:
        type: custom:multiple-entity-row
        secondary_info:
          attribute: battery_type_and_quantity
sort:
  method: state
  numeric: true
  reverse: false
A couple of things worth calling out here:
- The
state: "< 25"filter is a string with a comparison operator — auto-entities parses this itself, there’s no templating involved. - Each matched row renders as a
custom:multiple-entity-row, purely so I can showbattery_type_and_quantityas secondary text underneath the percentage. This is exactly where the Battery Notes_plusentities pay off — without them, there’d be nobattery_typeattribute to display at all, and I’d be stuck guessing which battery to grab every single time. - Filtering on the original battery sensors instead of the
_plusones would technically still work for the percentage, but I’d lose the battery-type line entirely, which defeats half the point of building this.
The result: one glance at this card tells me exactly which devices need a battery, and exactly which battery to bring with me before I start crawling around looking for the right sensor.
Notifying on the main view
Having a great “Needs Attention” list buried on a Maintenance tab is only useful if I actually remember to check it. So the last piece was a small chip on my main dashboard view that only appears when something actually needs attention.
For this, I needed a helper that checks all the entities labelled house_battery and returns true or false depending on whether any of them are below my threshold:
yaml
template:
  - binary_sensor:
      - name: "Battery Needs Attention"
        unique_id: battery_needs_attention
        device_class: problem
        state: >
          {{ label_entities('house_battery')
             | map('states')
             | map('float', 0)
             | select('lt', 25)
             | list
             | count > 0 }}
label_entities() pulls every entity carrying the house_battery label, map('states') grabs their current values, map('float', 0) converts them to numbers (defaulting anything weird to 0 instead of crashing the template), and select('lt', 25) keeps only the ones below threshold. If that list has anything in it at all, the sensor flips to on.
With that helper in place, adding the chip to my main view’s was simple – just making a conditional card that checks the visibility from the template. Please note that I’m using Mushroom cards as a base chips card here, so you might want to install it first if you want similar look that I have on this.
yaml
type: custom:mushroom-chips-card
chips:
  - type: conditional
    conditions:
      - condition: state
        entity: binary_sensor.battery_needs_attention
        state: 'on'
    chip:
      type: template
      icon: mdi:battery-alert-variant-outline
      icon_color: red
      content: Battery replacement needed
      tap_action:
        action: navigate
        navigation_path: /room-based/maintenance
      entity: binary_sensor.battery_needs_attention
The state condition is what makes this feel effortless rather than nagging — when every battery in the house is healthy, the chip simply isn’t there. The moment something dips below 25%, a red chip appears on my main view, and tapping it drops me straight onto the Maintenance tab where the culprit is sitting at the top of the list, battery type and all.
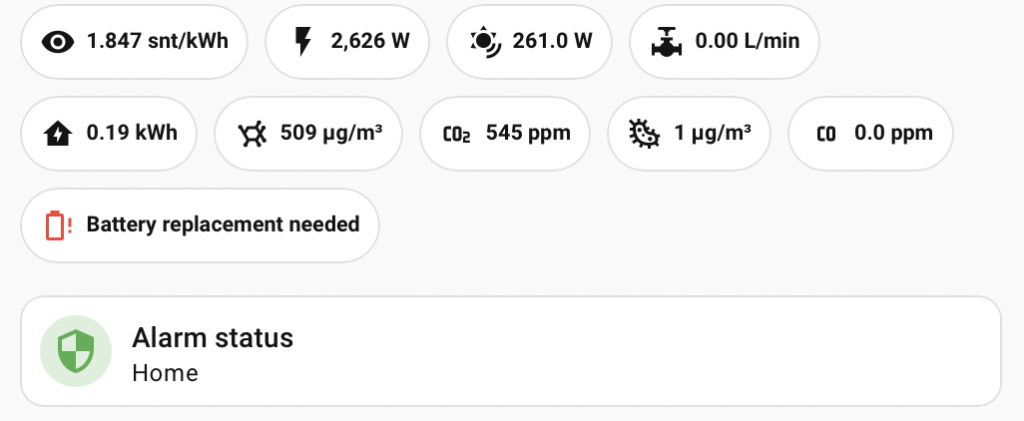
Battery replacement needed shown on my main viewWrapping up
What started as “ugh, another dead battery” turned into a setup I’m genuinely happy with:
- Battery Notes gives every battery a type, so I know what to buy instead of guessing
- Labels (
house_battery) keep the list scoped to what I actually care about, and make onboarding new devices a non-event - auto-entities does the filtering and sorting so I never touch dashboard YAML for a new sensor again
- A single template helper and a conditional chip turn all of that into a notification I’ll actually see, instead of a card I have to remember to check
If you’re fighting the same battle, I’d start with the labelling approach before anything else — it’s the piece that made everything downstream (the Needs Attention card, the chip, future additions) close to zero-maintenance.
