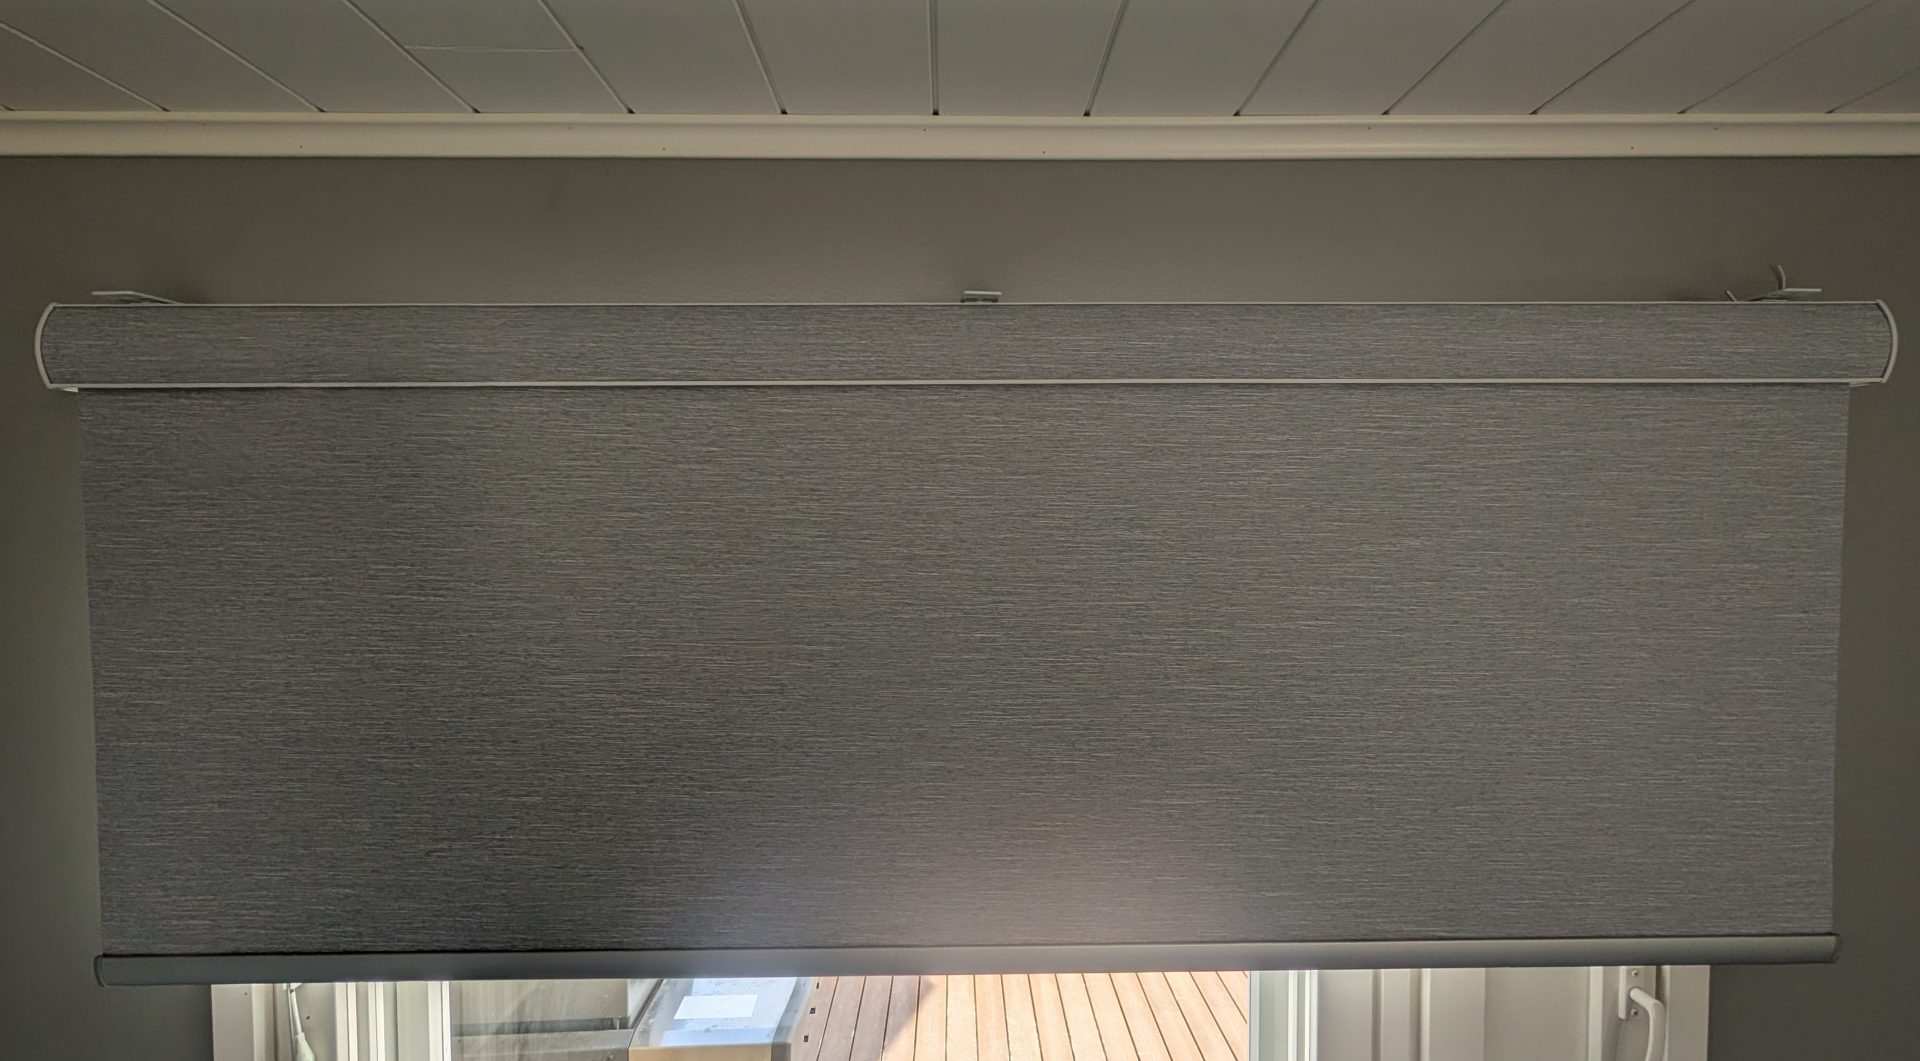
SmartWings Roller Blinds Review: Z-Wave, Blackout, and Real-World Use
About a month ago I was contacted by SmartWings, a manufacturer of automatic curtain solutions. They asked if I wanted to test one of their products. This time the collaboration was a bit different, since I had to place the order myself — which turned out to be a good thing, because a custom-made product needs some input from the user anyway.
SmartWings offers several curtain types — roller shades, Roman shades, zebra/dual shades, and vertical blinds among them — but the product I tested here is from their blackout roller shades line, part of the roller blinds category.
In this article I’ll walk through the whole process: ordering, installing, connecting to Home Assistant, and living with them day to day.
Disclaimer: I’ve received the tested device for free on reviewing purposes, but as always, the opinions are 100% my own and this does not affect the product review results.
Making the Order
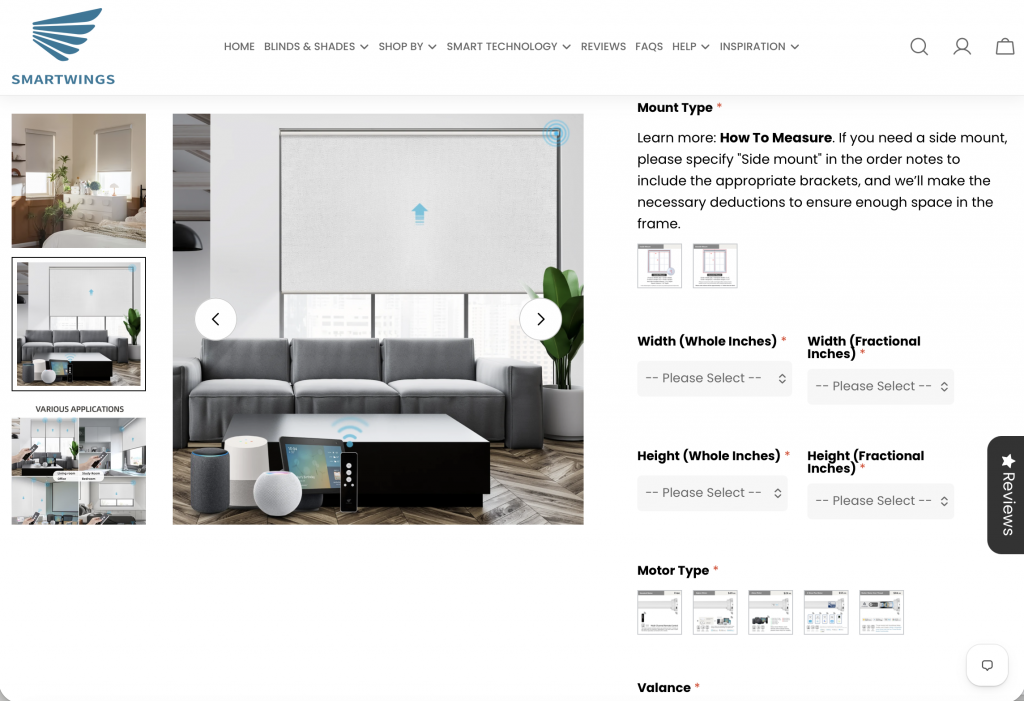
Opening the SmartWings website can feel a bit overwhelming at first, especially if you don’t already know exactly what kind of shades you’re looking for. In my case, I needed blackout roller shades to make my bedroom properly dark. In Finland, where I live, the sun barely sets in summer, so blackout shades are genuinely essential here. I went with gray, from their Essentials collection.
That part was easy. The harder part was working through all the customization options myself:
- Mount type — inside or outside the window frame
- Width and height — precise measurements
- Motor type — see below
- Valance style
- Bottom bar type
- Solar panel — yes/no
- Remote control
- Roller type — standard or reverse
- Motor side
- Light blockers
- Power supply
Mount type and measurements are the two most important choices. If your window is recessed into the wall, you’d choose inside mount; if it’s flush with the wall, like mine, you go with outside mount. The mount type also determines how you measure — thankfully, SmartWings provides a solid measuring guide.
Motor type is where things get interesting for smart home enthusiasts. SmartWings offers several connectivity options: their own standard remote-only controller, Zigbee, Z-Wave Plus, Matter over Thread, and Matter over Ethernet (PoE) — and several of these motor variants also support Alexa integration alongside their native protocol. With that many options, most people should be able to find something that fits their existing smart home setup. I chose Z-Wave, since that’s been my most reliable protocol so far. If I were building a new home from scratch, though, I’d go with PoE and have the blinds hardwired.
For the rest, I chose:
- Cassette valance
- Standard bottom bar
- No solar panel (I already have separate built-in blind tilts on these windows, which would’ve made a solar panel awkward to mount)
- Standard remote
- Reverse roller (I’d read this can be changed later if needed)
- No light blockers
- No power supply — I’m running these on battery, rechargeable via USB-C, since I’m retrofitting older windows
Every option affects the total price, and the price impact is shown clearly next to each selection — a nice touch that made budgeting easy. SmartWings advertises that pricing includes shipping and customs; mine shipped for free, so I honestly can’t confirm or deny that claim myself.
On price: these aren’t cheap — expect to pay a real premium for the Z-Wave/Matter motor options in particular — but if you try to source a comparable smart roller blind setup from a supplier based in Finland, you’ll likely pay two to three times as much for a similar result making these a bargin.
Once ordered, the blinds shipped from China and arrived at my door in under two weeks. Delivery time will obviously vary a lot depending on where you live.
Installation
The package included everything needed: the roller blind cassette, extension brackets, installation brackets, a charging cable, the remote (since I ordered one), a screw-alignment template, and the necessary screws. On installation you might want to use laser or standard level and obviously a drill is required.
1. Mounting the brackets. Extension brackets aren’t strictly required, but I used them since I wasn’t sure the blinds would clear my window handle. (Spoiler: they did clear it anyway, since my roller type ended up reversed — so I didn’t actually need the extensions.) The number of brackets depends on the blind’s length; my 170 cm blinds needed three. Installation was straightforward with a laser level (not included) and a drill: three brackets, two screws each, evenly spaced above the window. I used wall plugs for the center bracket since I only had studs on the sides.
2. Attaching the cassette. With the extension brackets and mounting brackets in place — connected with the provided bolts and nuts, two per bracket — I clicked the roller blind cassette into place using its spring connectors. It sat surprisingly sturdy and didn’t shift at all. Nicely designed, SmartWings.
3. Waking the motor. The remote came pre-paired with the blinds. Holding the button on the motor for a few seconds woke it from sleep, and the valance lowered a few centimeters to confirm it was active. From there, the blinds were fully operational via remote.
Installing the first blinds took me about 30-45 minutes total as I did not know really anything about these. The second and third one took only about 15 minutes each so once you know the installation procedure, it’s a very simple task.
Connecting Z-Wave to Home Assistant
Blinds mounted and working with the remote — but not very smart yet, is it? Time to bring them into Home Assistant over Z-Wave.
To start pairing, I held the P-button on the blinds for 6 seconds. The blinds jogged twice and the LED turned red, signaling pairing mode. I’m running Z-Wave JS UI in Home Assistant, so I just added a new Z-Wave device through the interface — which should be all it takes, unless your device is too far from your coordinator, which was exactly my problem. It took a few attempts, but forcing the mesh to build routing through intermediate devices finally gave me a stable connection. The second blind, being much closer to the coordinator, paired on the first try with no issues.
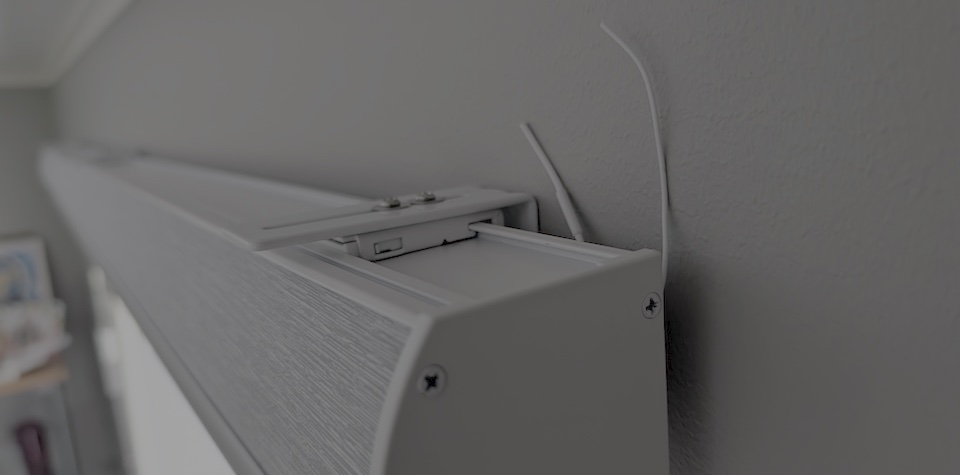
While troubleshooting the range issue, I also discovered that the antennas sit right near the motor housing — one for Z-Wave, one for the remote’s own frequency. Repositioning and aligning them better made a clear, noticeable difference to Z-Wave signal quality, and ended up solving my range issues entirely. If you’re struggling with pairing or drop-offs, it’s worth checking antenna placement before assuming it’s a mesh or coordinator problem.
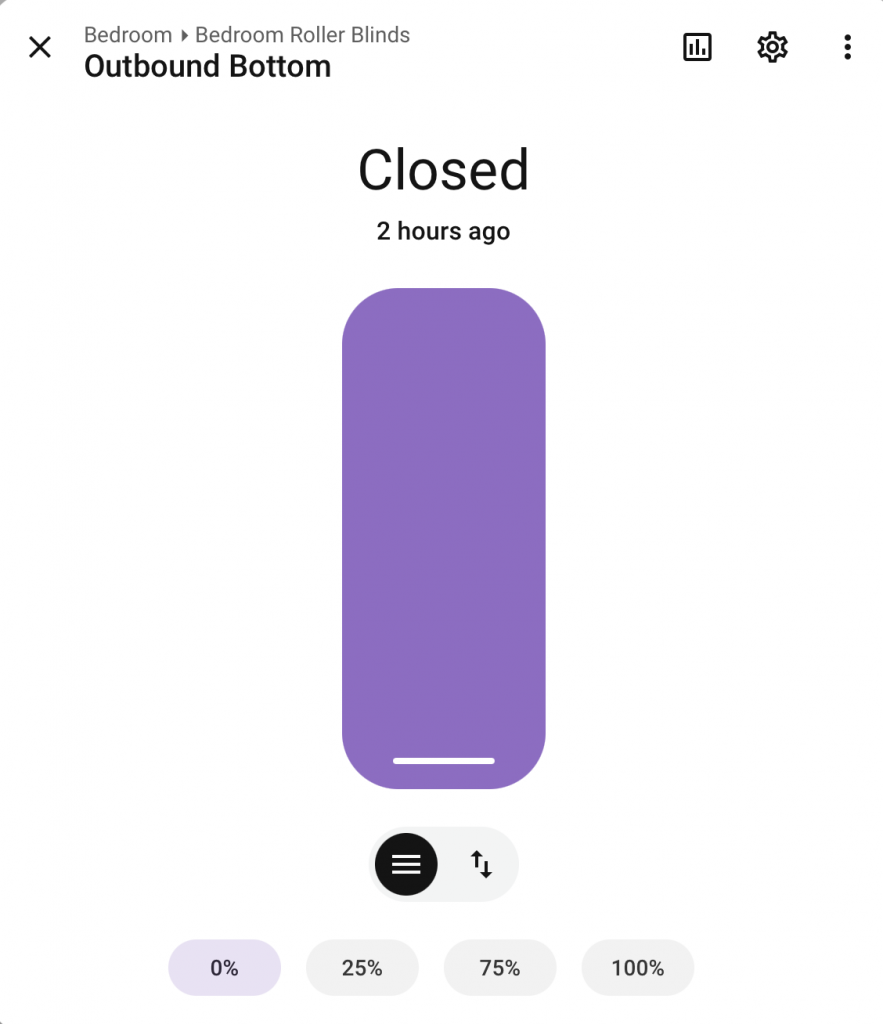
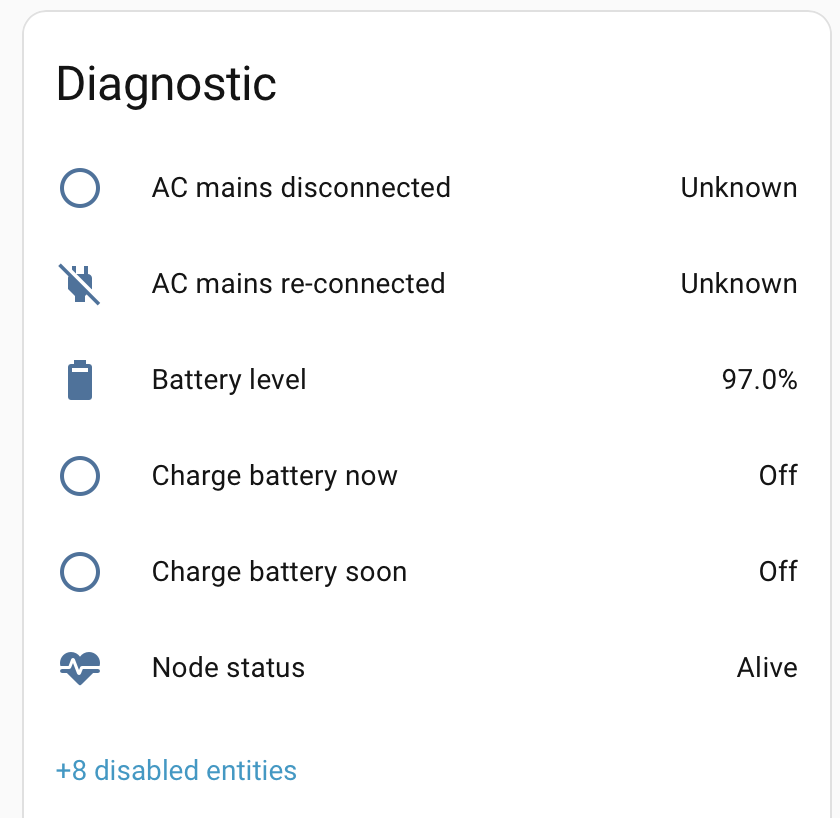
The Z-Wave motor exposes plenty of useful data to Home Assistant (or whichever Z-Wave hub you use): position control, battery level, and more. (see default exposed entities on screenshots below for ZWave roller motor)
Living With Them
With both blinds now connected, here’s how they’ve actually performed day to day.
Since installing these in our bedroom, I’ve been genuinely impressed with how well they work. Even with some light leaking in around the edges — a known trade-off of outside mounting — the room gets dramatically darker, which matters a lot during Finnish summer when the sun effectively doesn’t set. Compared to the standard tilt blinds I had before, the difference in darkness is night and day — the old tilt blinds let light through everywhere, while these blackout roller shades block almost all of it.
I also have a TV in that room, and summer daylight was causing an annoying glare on the screen. I’ve since ordered a second roller blind just for that window — unsponsored, I paid for it myself because I genuinely like the product. Once it arrives, I’m planning an automation to close the blinds automatically when the TV turns on and the sun is still up. There’s a lot of automation potential here beyond that too — a bed-presence sensor to lower the blinds at night and raise them in the morning is high on my list. This ‘gadget’ has so much potential on home automation scene.
Motor noise is another thing worth mentioning, since these are running in a bedroom. It’s very quiet — even the moment it wakes from sleep and starts moving, which is usually the noisiest point for motorized blinds, it’s easily bearable. I’ve had automations trigger it early in the morning and it hasn’t woken me up once.
Battery life has also been better than I expected so far. On delivery, the battery was at around 50% — which is normal, since batteries are typically stored and shipped at partial charge rather than full. I charged it to 100% immediately after installing, and since then I’ve been running the motor about twice a day for roughly two weeks. Battery level is still sitting at 97%.
Doing the math on that, I’m looking at roughly 10% drain per month at my current usage — so realistically somewhere between 6 and 12 months per charge. I’ll keep tracking this and update the numbers as I get more data, since actual runtime will depend a lot on how often you’re opening and closing the blinds.
Tips and Tricks
- Usinging Extension brackets will make the blinds easy to reposition, which helps if a window handle is in the way of the blinds.
- Don’t overthink reverse vs. standard roller type — it can be changed programmatically later. I spent a lot of time deliberating over this before finding out it wasn’t a one-way decision.
- If your windows allow it, inside mounting blocks noticeably more light than outside mounting. Pairing that with the light blockers option is worth considering if blackout performance is your priority.
- Prior to ordering, measure two or three times just to make sure everything fits.
- When selecting outside mounting, ensure enough extra space (see their guide)
- Antenna placement matters more than you’d expect — see the Z-Wave section above if you run into range or pairing issues.
Conclusion
An excellent product — I’ve genuinely struggled to find anything to criticize, even trying. Build quality is spot on, installation was easy, and the Z-Wave integration works flawlessly. I really love these — they go straight to the top of my “best smart home devices” list.
What’s stuck with me most, day to day, is the contrast with what I had before: going from standard tilt blinds to actual blackout roller shades made a genuinely dramatic difference for sleeping through Finnish summer nights, and the motor is quiet enough that automations can trigger early in the morning without waking anyone up.
If you’re a smart home tinkerer who wants protocol flexibility — Z-Wave, Zigbee, Matter, take your pick — and doesn’t mind a bit of setup work (measuring, antenna placement, mesh troubleshooting), these are close to ideal. If you just want quiet, reliable, motorized blackout blinds and don’t care about the underlying tech, they’ll still serve you well straight out of the box with the standard remote — you just won’t get as much out of the smart home side of things.
On value: these aren’t cheap, especially once you add a smart motor variant, but weighed against paying two to three times more for a comparable setup sourced locally, the price starts to look pretty reasonable for what you get.
Pros
- Excellent blackout performance, especially with inside mounting
- Z-Wave connection has been rock solid
- Sturdy, well-designed hardware and mounting system
- Remote is simple and reliable
- Wide range of customisation and connectivity options to match different smart home setups
Cons
- Not extremely cheap, particularly for the smart motor variants
- Outside mounting lets some light leak in around the edges, but that’s just the way it is on outside mounting..
- Ordering requires some technical know-how up front (measuring, mount type, motor choice)
Smart home score: 6/5 (I tried to find a way to justify a 5, I really did — turns out the blinds broke the scale upward, before I could break out the calculator)
