
Setting up a reliable fire protection using Z-Wave
I already have few Fibaro Z-Wave smoke sensors at summer home and I’ve been happy with those so why not use the same types at home. However, at home I need to take it one step more further..
Purpose
My home is obviously bigger than summer house and also having a separate warm garage space. That leads to issue that if a smoke detector is detecting smoke at the garage I might not hear it well enough in to the house itself. Solution for that is have either linked smoke alarms (mesh) or external siren that notifies me if any alarms goes on.
And of course I need need the devices to work even if my Z-Wave gateway or network is down. Imagine a fire starting from the smart home ‘cabinet’. That leads to need for hearing a garage smoke alarm inside the home even if every electrical devices are down..
Choosing the devices
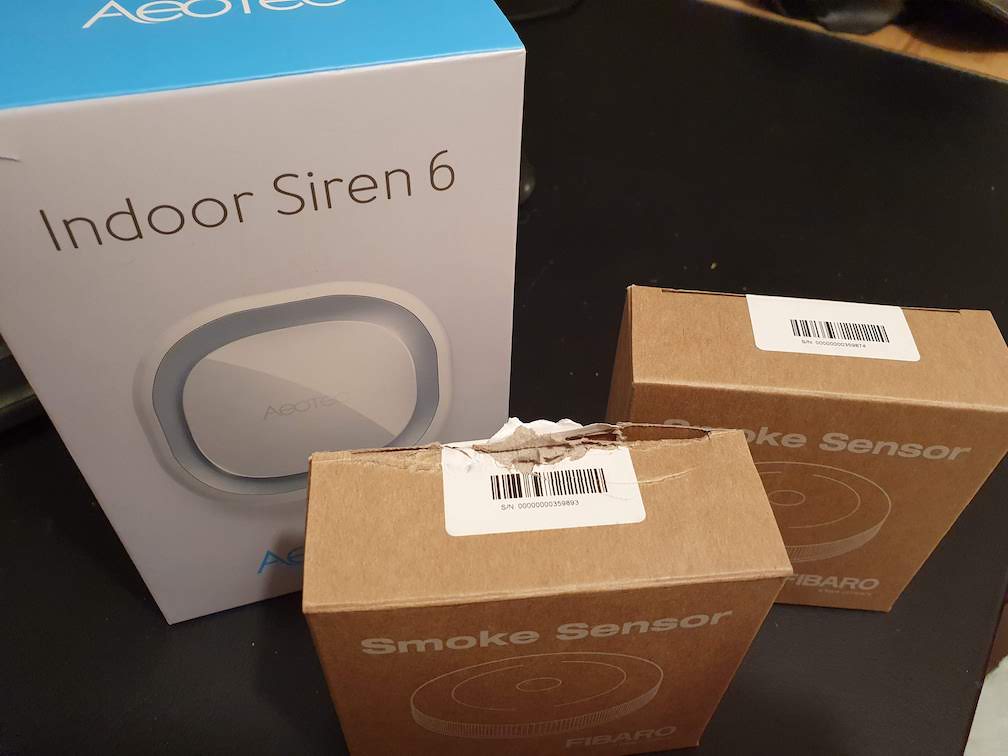
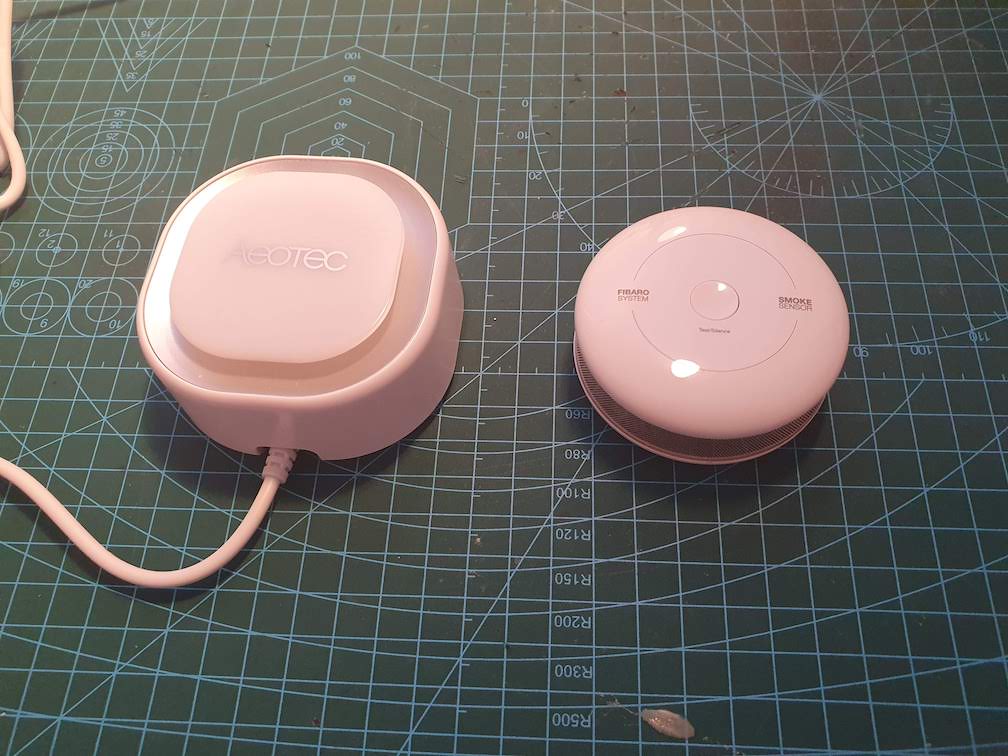
The problem with smoke detectors is usually that they are fully battery powered and therefore won’t work as centralised siren and that’s why multiple Z-Wave smoke nodes can’t be linked together. The good part of this is of course longer battery life (Fibaro is promising at least 2 years for a single battery). As mentioned earlier I’m using these Fibaro smoke sensors at summer house and I’m happy with those, so I’m choosing them in my house swell.
So, as the smoke detectors are now selected and they don’t support linking together I need to have a siren that supports Z-Wave associations (groupings). Siren also needs to have battery backup in case of electrical failure. I’ve previously used some Aeotec devices and found out about Aeotec Siren 6 that has all the features I need (including battery that lasts 4 hours on a power failure), so it might be just time to try this combination out..
Linking the devices to the siren
As I only use Home Assistant I need to configure device associations through it. For the Z-Wave integration I was using supervised version of ZWaveJS. As I quickly noticed out that, even though it has some device configurations available, it does not support any special functions like associations at all.
Luckily there’s a community add-on called ZWaveJS2Mqtt that is using ZWaveJS under the hood and does have a more advanced UI available that does support Z-Wave associations. So it’s time to discard the standard add-on and move to more sophisticated one.
Switching to ZWaveJS2Mqtt
Z-Wave devices are paired directly with the Z-Wave controller (I’m using Aeotec Gen 5 Z-wave stick) so changing the controller software should not be a problem and none of the devices needs to be re-paired as long as S2 encryption keys are saved before removing the old software.
So, time for action..
First: Opening ZWaveJS configuration panel from Home Assistant Add-on and save everything (including encryption keys)
Second: Removing standard Zwave JS add-on. Surprisingly it just pops up back almost right away!
Can’t I uninstall it or at least stop it? Trying again and always the same thing happens, it just comes backup and starts itself.
Some googling around and the issue is found: the Z-Wave JS integration from Home Assistant integrations menu is starting it, because it has been configured to use the standard ZWaveJS add-on.
By clicking the Z-Wave JS -> “Re-configure server” -options, I can uncheck the “Use the Z-Wave JS Supervisor add-on”. Now it won’t start again and can be uninstalled as well.
Now just installing the ‘ZWaveJS2Mqtt’ custom community add-on from Supervisor menu and everything seems to be in place.
Configuring ZWaveJS2Mqtt
All the devices are lost and nothing works.. of course since I need to configure the add-on with proper device and earlier copied encryption keys 🙂
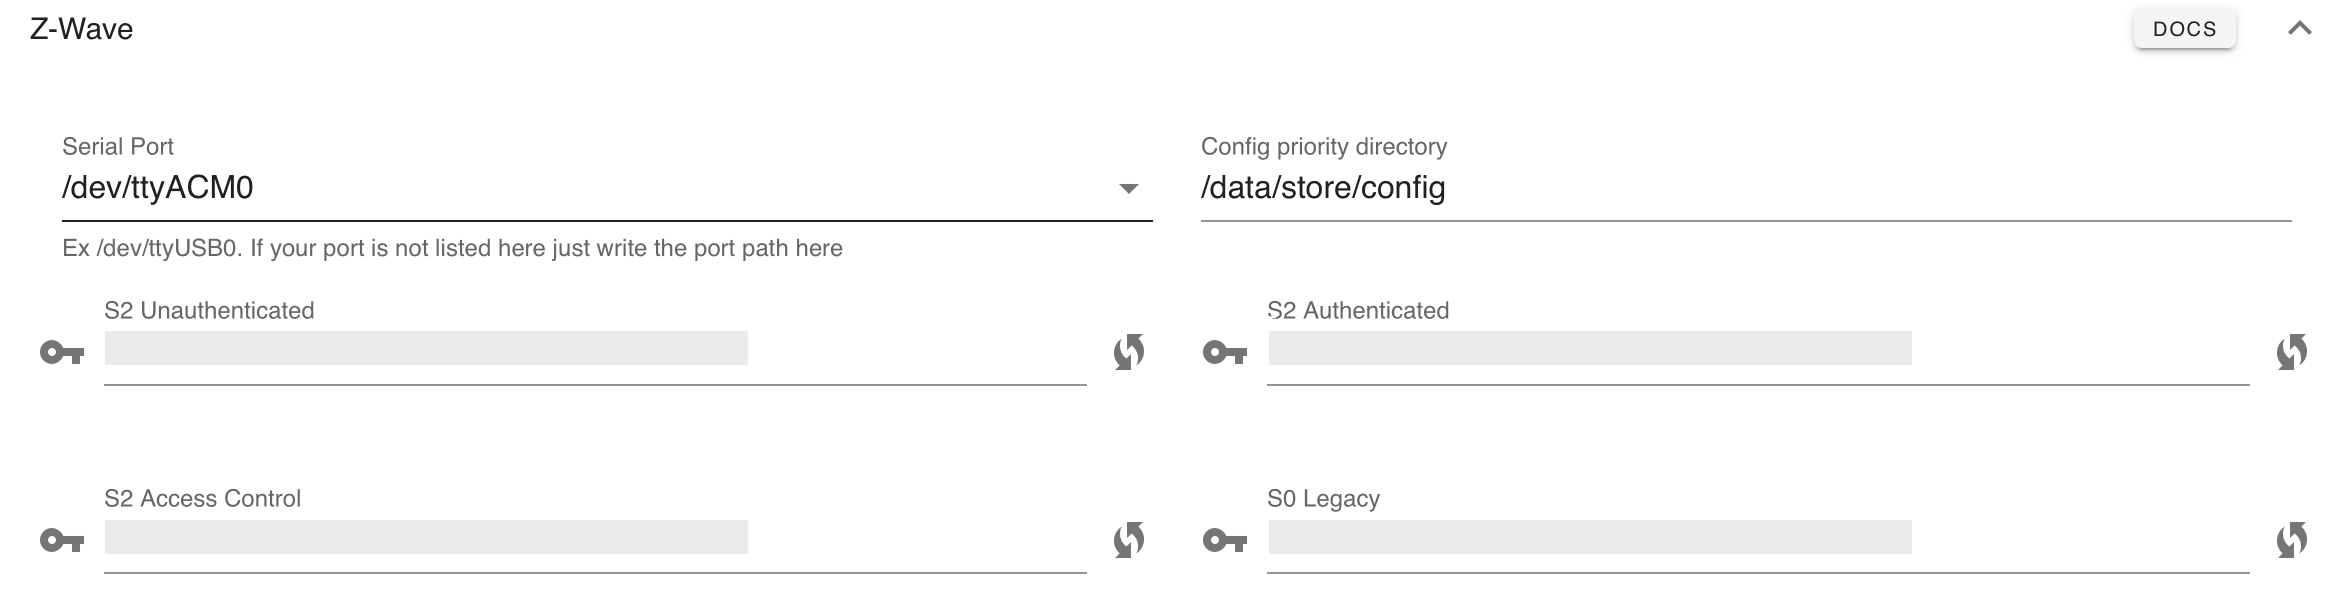
By going to settings -> Z-Wave and setting all the necessary values all the devices came back online, on ZWaveJS2MQTT UI at least. I also disabled the “MQTT Gateway” from the same page since I won’t be using the add-on through MQTT at all. Only using it through standard ZwaveJS communication protocol.
Since the devices are now listed, I re-interviewed all nodes just to be sure that everything are up to date. Sometimes when doing big changes nodes, it might be good idea to do this to ensure connectivity and proper functionality.
Ok, the ZWaveJS2Mqtt is now working, but those entities are not shown in Home Assistant side. I need to configure the existing Z-Wave JS integration to use the proper endpoint. Just by reinstalling the Z-Wave JS integration, checking the proper endpoint from ZWaveJS2Mqtt add-on documentation panel (yes, it updates with your own specific values!) and adding a new Z-Wave JS integration with this endpoint configured, the devices are back online on Home Assistant as well.. great success so far.
Creating the associations
All my devices are working again through this new add-on, so it’s time to move on this advanced configuration of Z-Wave devices called associations (grouping).
By reading the documentation of both Fibaro smoke sensor and Aeotec Siren 6, it seems that Siren 6 has 8 notification endpoints for separate purposes (8 for being environment like smoke, water leak, etc..) and smoke detector has one endpoint with four groups in it. Groups are of course assigned all to separate purposes as 2 and 4 are for smoke detected.
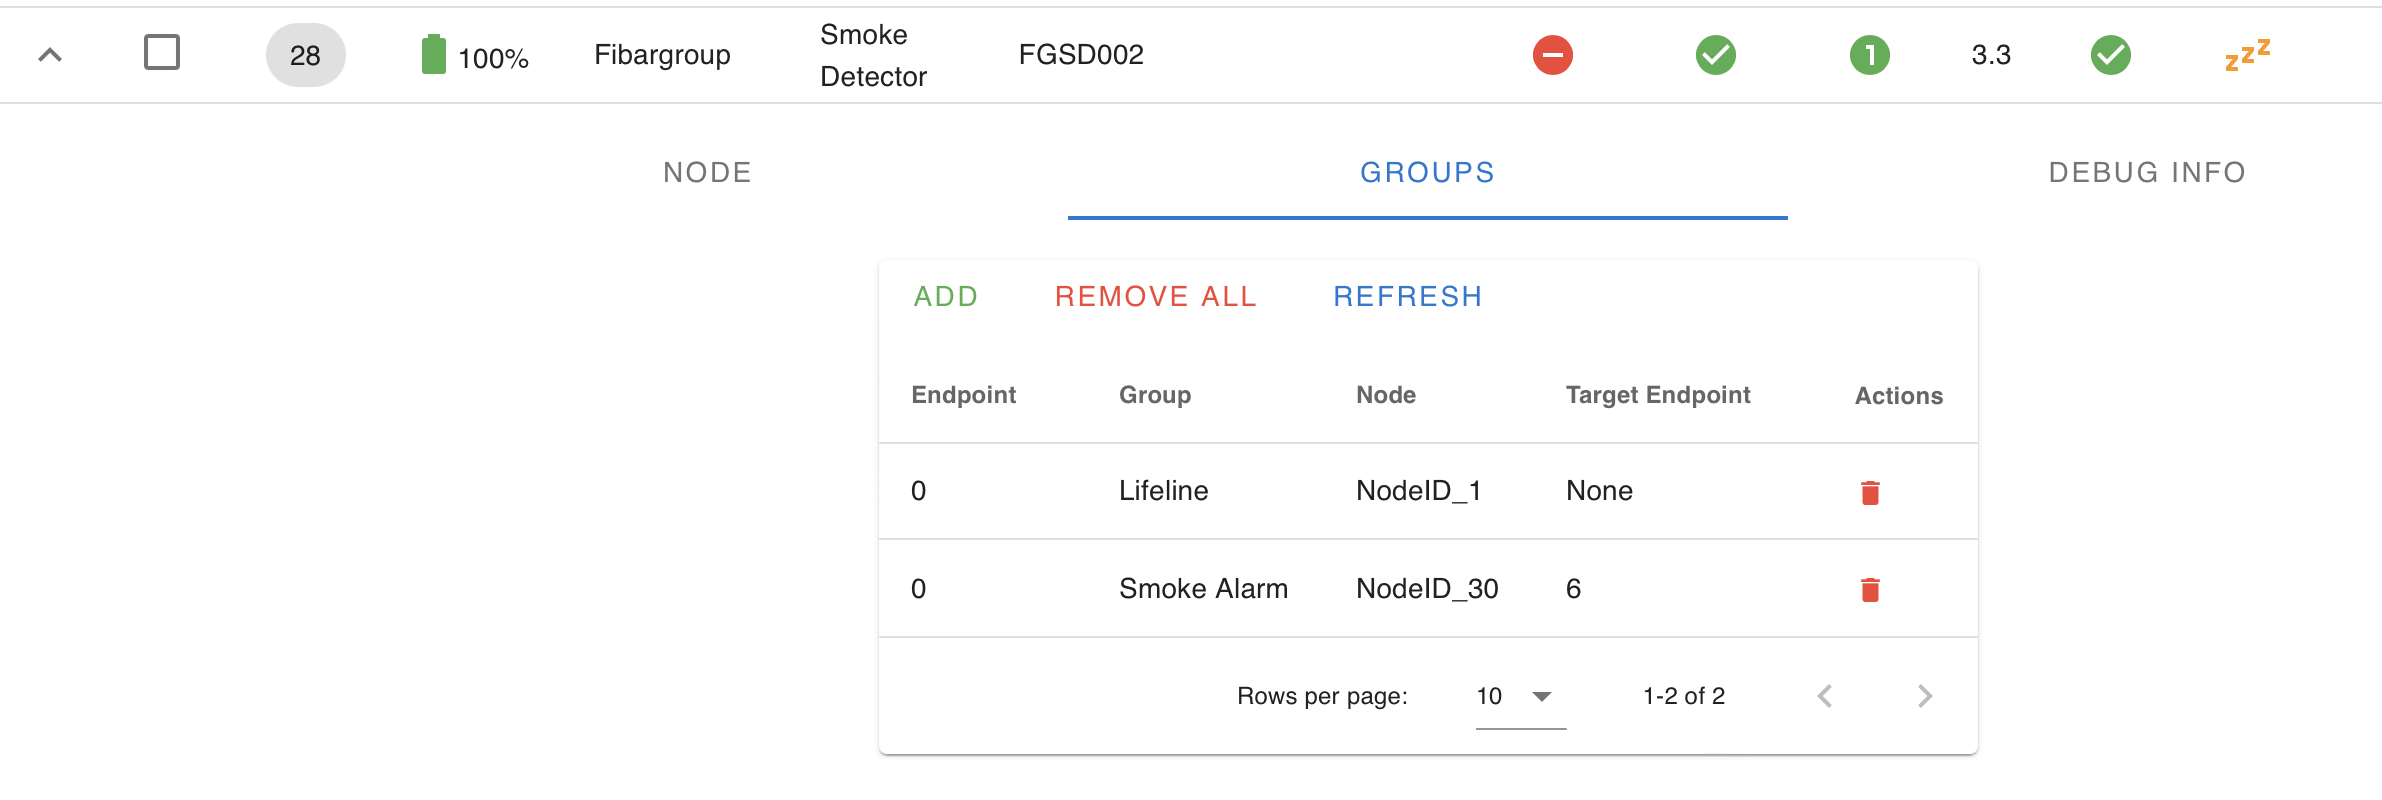
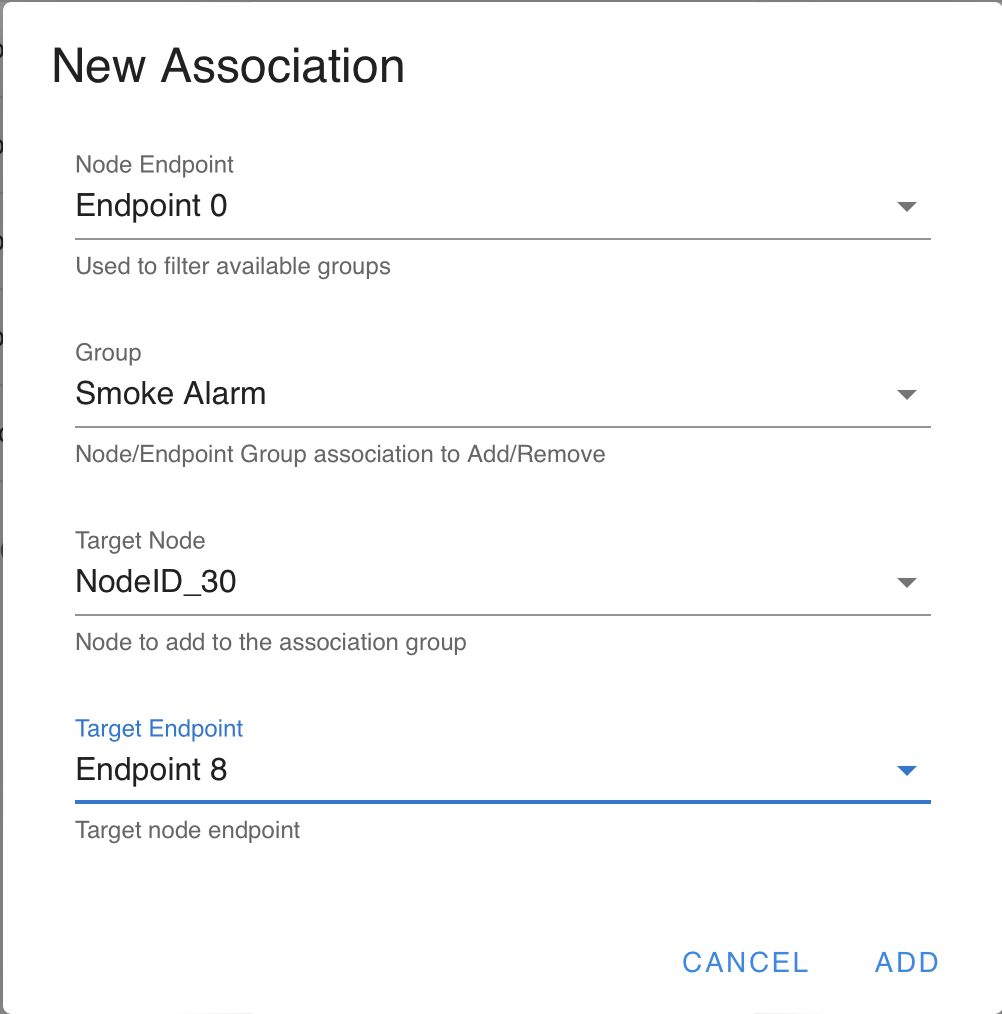
Going to Fibaro node and opening groups settings for it from ZWaveJS2Mqtt UI, a new association can be made. Choosing endpoint 0 and group Smoke Alarm (this is the input). Target Node is the Aoetec Siren (Node 30 in my node list) and target endpoint is 8 (environment). Now save and the association is made meaning that every time smoke is detected, a broadcast is sent to Aeotec siren on endpoint 8.
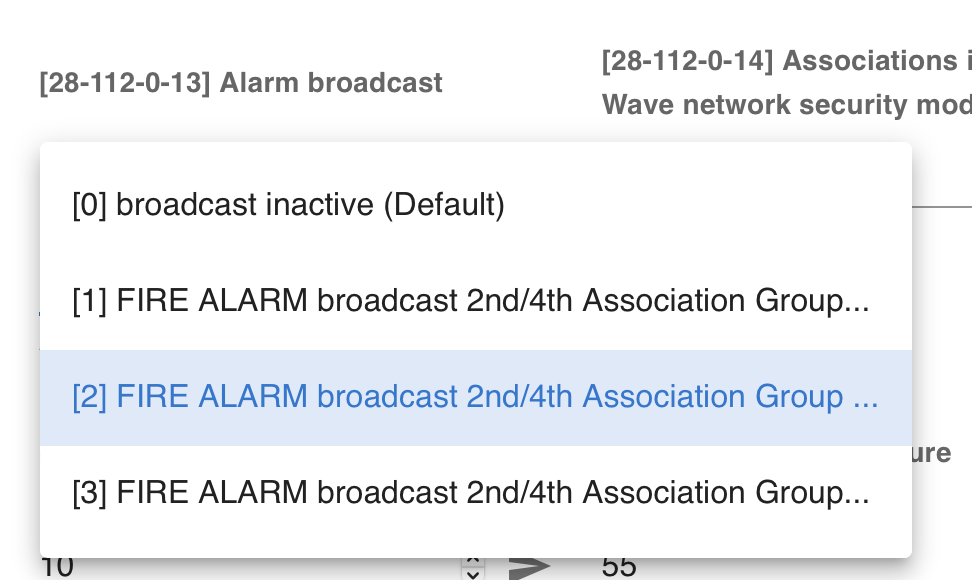
However, this is not enough. Fibaro smoke detector has the broadcast disabled by default so it needs to be enabled through node configuration. By going to Node tab from ZWaveJS2Mqtt UI for Fibaro node and choosing the configurations menu. There’s a configuration called ‘[28-112-0-13] Alarm broadcast’. For that we need to choose ‘[2] Fire Alarm broadcast 2nd/4th Association Group’ to actually enable the notification sending on smoke detected.
Now just to waking up the smoke detector to get updated values from Z-Wave controller. Waking up can be done by pressing the ‘test’ button once. Since the smoke detector is a battery powered, it’s on a sleep state most of the times. That’s why the manual wakeup is required.
Testing it out
Everything should be in place and it’s time to test it. The ‘test’ button on Fibaro will only test the built in alarm and does not broadcast the alarm anywhere, so we can’t test our system using it. The actual test needs to be on real smoke!
There’s smoke testing spray available in various shops, but for me, of course I did not have any on my home and was too lazy to actually go and buy one. I tested the system out by setting the Fibaro smoke sensor sensitivity to low and lit up and blowed down a candle few times while holding the smoke detector above it.
So, the smoke alarm started alarm and siren started yelling, it worked! At first time I actually heard a doorbell sound from the alarm, but that was because of a wrong Alarm broadcast setting from node configration: (“Hello, come open the door, it’s a smoke alarm here”) 🙂
Conclusion
So far so good, now I have few smart smoke alarms in my house along with a siren. I could do another Z-Wave associations on the siren as well like burglar alarms, water leak, etc.. I can also get push notifications from Home Assistant if an alarm fired while I’m not home (of course push notifications requires power and network connection). And if I’m home and all the systems are down, I can still hear the alarm through battery powered devices!
Great article and much appreciated. I was looking for a good smoke sensor compatible with Amazon Alexa smart-home systems. Are the Fibaro smoke sensors compatible with Amazon Alexa?
Hi and thanks for the feedback!
As far as I know, Amazon Alexa does not directly support Z-wave devices. So based on that knowledge fibaro smoke sensor would not directly work with Amazon Alexa hub and would most probably need some kind of separate z-wave gateway to make it work.
Thanks for the info.
This was a really nice write up!
I have the same setup and it seems to work well 😀
Hope it’s ok that I make a note that might save the next guy a few minutes.
I found that I had to use option [1] for “[28-112-0-13] Alarm broadcast”
(it is the second option in the dropdown, so that might be my confusion) I used the docs here to figure it out https://manuals.fibaro.com/smoke-sensor/
I would also like to know what configuration change you made to the node in order to get the right alarm sound? I too got the doorbell when testing it, and I hade to change option “[28-121-1-defaultToneId] Default tone ID” in order to fix it. That doesn’t really make sense to me, I was expecting the endpoint i set for the siren in association to point to the right “alarm”. Seems it doesn’t matter what endpoint I use.
Thank you for this, helped me a lot!
Hi and thanks for kind comments!
I also had the doorbell sound at first with broadcast group 2/4 from fibaro smoke sensor.
Changing that to group 3/5 I got the proper alarm sound. Cause for that I still don’t know, made more sense to use groups 2/4, but that did not work out 🙂
When you configured the alarm broadcast, will other Fibaro Smoke sensors also sound?
No, only the one that is making an alarm and the siren.
Fibaro smoke sensors don’t act as a receiver, only as broadcast sender. Unfortunately.
However, if they were to listen broadcasts as well it would have an negative effect to battery life.