
Guide: Bluetooth Proxy to Home Assistant using ESPHome
In previous post I briefly looked into SwitchBot Bluetooth ecosystem and promised to write a post about setting up a Bluetooth Proxy using ESP32 and ESPHome. In this post I’m going through the process of installing ESPHome and flashing Bluetooth Proxy into an ESP32 device and connecting BLE device to Home Assistant through it.
ESP32, ESPHome and Bluetooth Proxy
ESP32, ESPHome and Bluetooth Proxy? A little introduction to get used to these terms..
ESP32 is a MCU with integrated WiFi and Bluetooth (successor of popular ESP8266). ESP32 a very powerful and has low power consumption. In theory, it can be battery operated if put on a deep sleep, but with casual use cases a permanent power connection is required. ESP32 software can be developed with easy to learn Arduino, but is not excluded to only that.
ESPHome is a platform developed for ESP32/ESP8266 and is mainly used for Smart Home devices. ESPHome has tons of ready made configurations, libraries and examples. In 2021 Nabu Casa (Home Assistant developer company) acquired ESPHome and integrated the whole ESPHome system more deep into the Home Assistant Core. These days ESPHome can be installed directly from Home Assistant Add-On store and configured from Home Assistant UI!
Bluetooth Proxy is a gateway software that listens for ‘all’ Bluetooth traffic and forwards them to the Home Assistant instance. Basically BLE to WiFi gateway.
Required Hardware
In this project we are going to need few items:
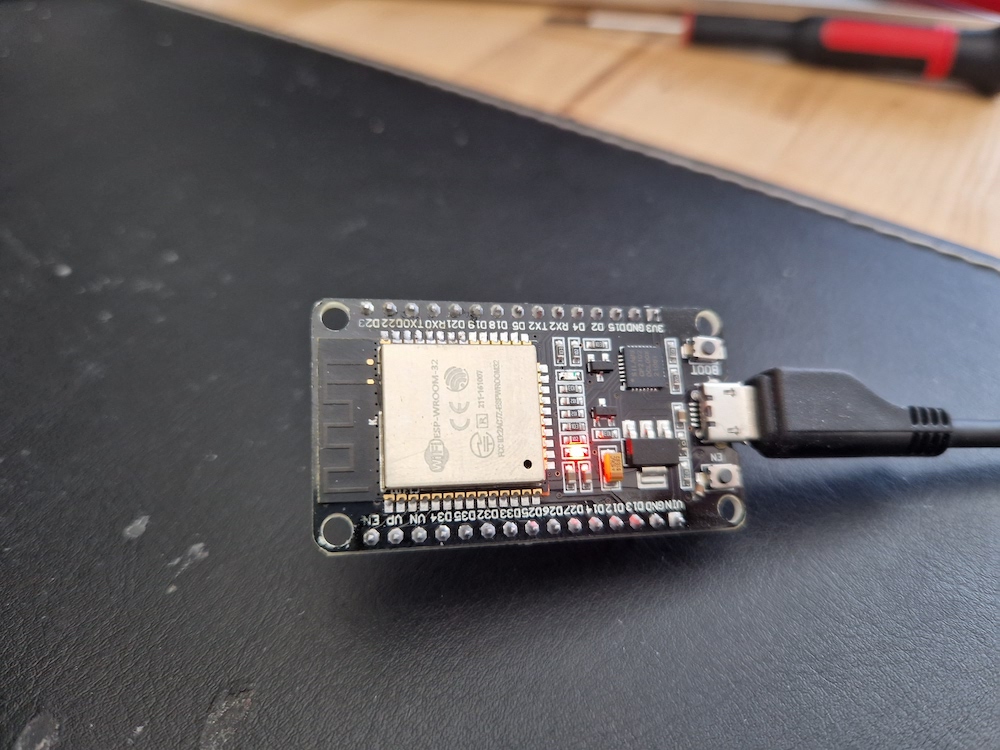
- ESP32 development board [Amazon.de, Amazon.com]
- ESP32 development board has an ESP32 chip (Bluetooth and Wifi already integrated) plus an USB interface for powering up flashing.
- 5v USB Power supply [Amazon.de, Amazon.com] providing at least 0.5 amps (an old cellphone charger will do fine)
- Micro USB cable [Amazon.de, Amazon.com]
- Optional: Plastic enclosure to fit the ESP32 devkit (or 3D printer)
Note: I’ve tested this with two different development boards, ESP32 Wroom devkit v1 and ESP32 Wroom devkit v2, but for some odd reason the devkit v2 did not work properly with flashing esp-idf type of framework. You can find the exact device I’ve used from Amazon using these links: Amazon.de, Amazon.com. Most probably other ESP32 dev kits works as well, but I’ve not tested them my self, so can’t say 100% sure that others works the same.
Installing ESPHome into Home Assistant
ESPHome is now days hosted within the Official Home Assistant Add-On Store and can be installed to the Home Assistant without any problems. Just head over to Home Assistant Settings -> Add-On Store -> Select ESPHome and press the install.
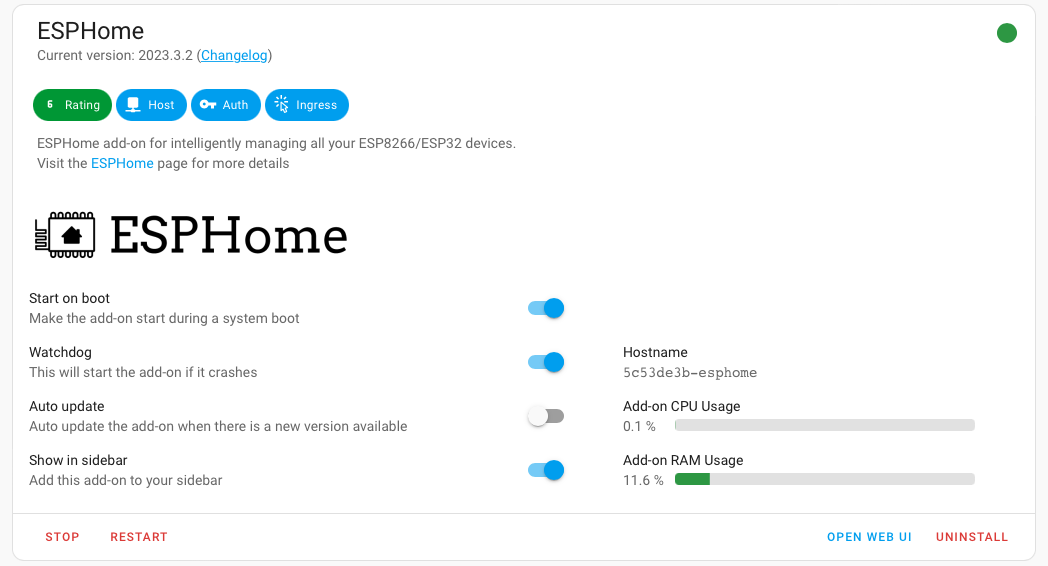
Once installed I’d suggest to set on the Watchdog switch in order for ESPHome to restart it if crashing at anytime for any reason. Also press ‘start’ button to start the ESPHome container in your environment.
Now the ESPHome service should be fully running and can be opened from “Open Web UI” -button bottom of the ESPHome Add-on page.
Flashing Bluetooth Proxy
Now it’s time to get really things started and setup the proper configurations for the ESP32! Open ESPHome UI from ESPHome Add-on page and connect the ESP32 device to your PC using a micro USB cable.
Create a new config
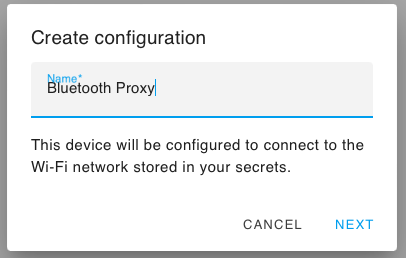
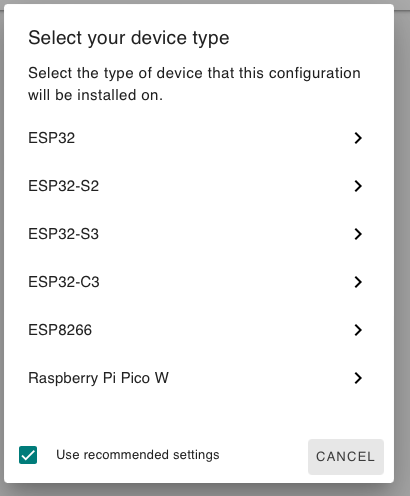
First initial configuration is needed to be created. Let’s start by pressing the plus-button in the bottom right corner and let’s name the device as “Bluetooth Proxy“. Next select a Generic ESP32 as a device (unless you have some other specific ESP32 dev board that is in the list).
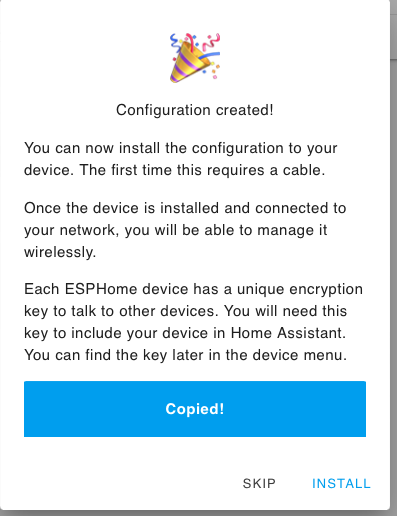
Generated encryption key should be now shown, but you can safely ignore it. It will be automatically added to the configuration once finished. So just press “Skip” button and we continue editing in the edit view.
After finished and initial config is created, open the newly created configuration by pressing “edit” from the Bluetooth Proxy device at ESPHome WEB UI.
Now we need to add the Bluetooth Proxy support for our configuration. Fill in the missing parts of the configuration from the code below (esp32_ble_tracker and bluetooth_proxy -blocks). Also remember to change the framework type to esp-idf! This is important, since the bluetooth proxy performance is quite poor on default Arduino framework. Don’t copy the below configuration totally, since the encryption key and other password should be unique to your device and environment. I’ve altered those values in my configuration shown here.
esphome:
  name: bluetooth-proxy
  friendly_name: Bluetooth Proxy

esp32:
  board: esp32dev
  framework:
    type: esp-idf

# Enable logging
logger:

# Enable Home Assistant API
api:
  encryption:
    key: "REMOVED"

ota:
  password: "REMOVED"
  platform: esphome

wifi:
  ssid: !secret wifi_ssid
  password: !secret wifi_password

  # Enable fallback hotspot in case wifi connection fails
  ap:
    ssid: "Bluetooth-Proxy Fallback Hotspot"
    password: "REMOVED"

esp32_ble_tracker:
  scan_parameters:
    interval: 1100ms
    window: 1100ms
    active: true

bluetooth_proxy:
  active: true
Flashing the device
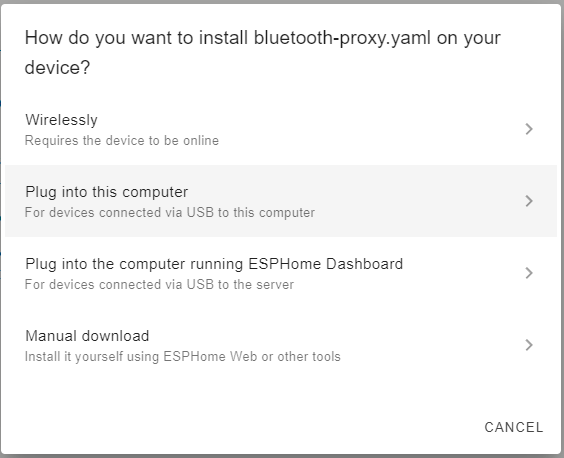
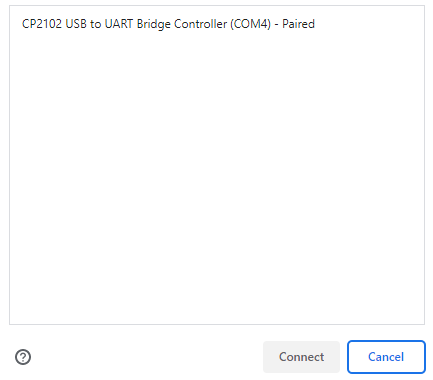
Once modifications are in place, we just need to flash it on the ESP32 device. For this, Google Chrome or Microsoft Edge browser is required. So using Google Chrome press the “install” button in the current view and select the corresponding com port the device is connected to using USB cable. Port name should be something like: ‘CP2102 USB to UART Bridge Controller (Com 4)‘
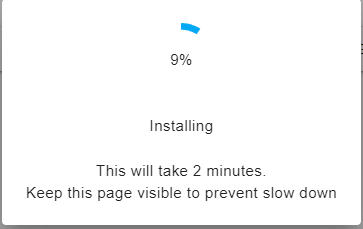
After this step the programming should begin processing and will take couple of minutes until completed.
After the first time flashing the device, it can be re-flashed wirelessly. In fact, Home Assistant will notify if ESPHome is updated and will ask you to update the device (wirelessly) when a new ESPHome update is pushed out.
Once done, move to the next step.

Adding the proxy to Home Assistant
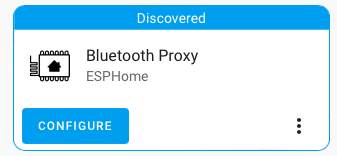
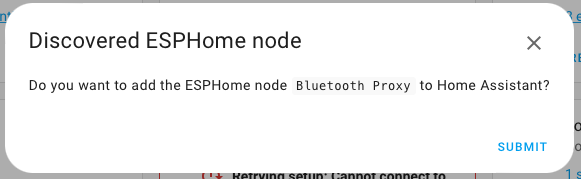
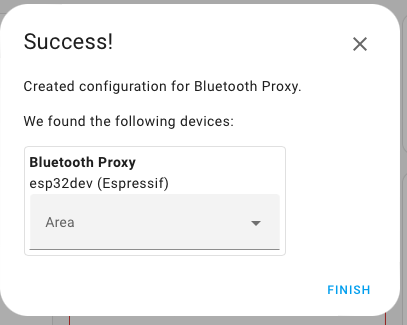
After installation, when ESP32 has properly started up, a notification of a new device should appear in the Home Assistant notification center. Clicking this notification will take you to the Home Assistant devices & integrations -view and will kindly ask you to configure the Bluetooth Proxy device. So click it, add an area you are planning to place the device and you’re all done! The proxy is now ready for use!

Discovering Bluetooth devices
You can now disconnect the device from PC and connect it to the power supply using a micro USB cable.
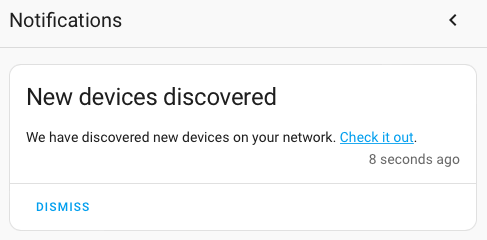
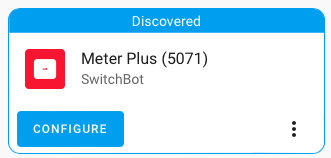
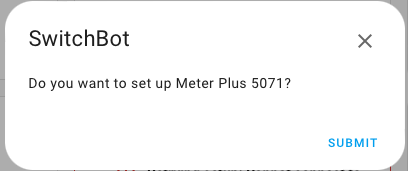
Proxy should now start and automatically discover all nearby supported Bluetooth devices in range. All of those devices will be notified in the same Home Assistant notification area and clicking those notifications will take you to the Home Assistant devices & integrations page once again.. and again kindly ask you to configure the bluetooth devices.
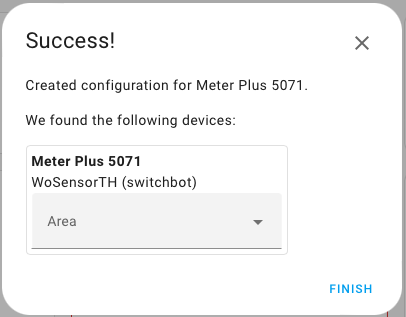
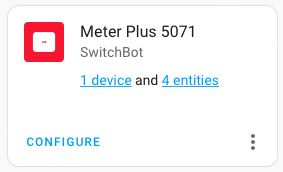
In my case, the SwitchBot Meter Plus was discovered as should and configuration was to just add the device area. Once that was done the device started sending values for the Home Assistant immediately!
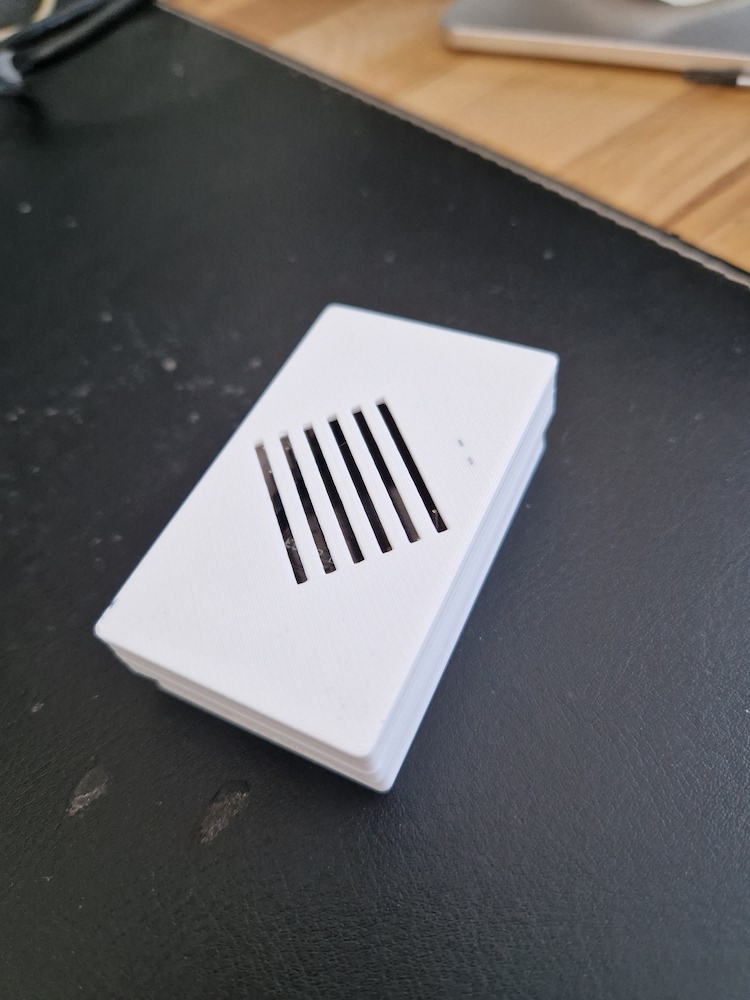
Creating an enclosure (optional)
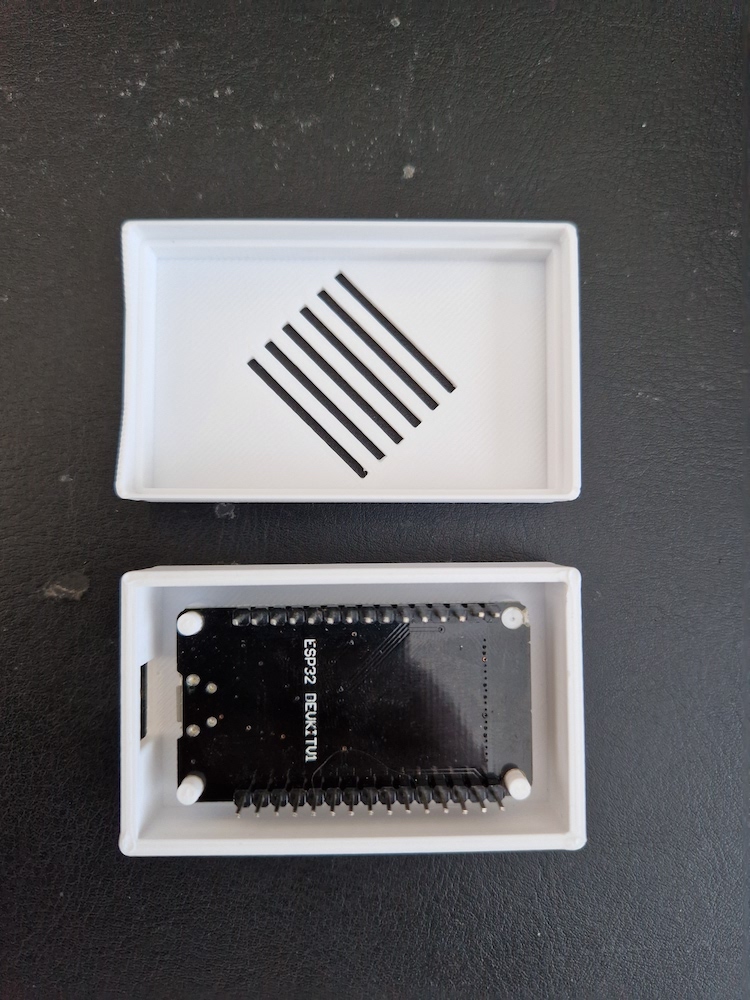
It’s not a good practice to install electrical devices exposed to dust, so it’s nice to have an enclosure for the device. If you have a 3D Printer available, I’d suggest to find a 3D model for the ESP32 case (depending on your dev board) from e.g. Thingiverse. As said earlier, I’m using a Wroom32 devkit v1 and found this specific case to fit for my needs. That enclosure does require a bit glue to close the lid tight, but otherwise it’s a perfect fit.
If you don’t have a 3D printer available, you can use any plastic case. Just add some hot glue to the bottom of the enclosure and glue the ESP32 device on it so it won’t move inside accidentally. Also create a hole for the USB power cable.
The end
Everything is now ready and the proxy device should be passing ‘all’ bluetooth device data directly to your Home Assistant instance. I’ve been using this for about week now and I’ve had zero connection drops and everything has been working as great as expected. It’s very easy now to expand Bluetooth range by just placing more of these proxy devices in the house!
Did you find this guide helpful? You can keep the blog going by bidding me a coffee!
Promotional message:
Need a SwitchBot device? You can get 10% off with the creatingsmarthome.com code 10UPF4RLGELVDV directly from the SwitchBot store.
Thank you Toni for this tutorial. Can you add more services to that ESP32 BT-Proxy? I mean, if I want to run a LD2140 radar on that same ESP32, can I ?
Hi!
In theory you should be able to do that, at least I can’t figure out why not. I haven’t actually tested it myself though.
The Bluetooth Proxy is using esp-idf platform while usually arduino platform is used in ‘basic’ implementations.
That could cause some issues, but as far as I know, most of the libraries works with both platforms just fine.
If you decide to try that out, please come back and leave a comment and share your results 🙂
Tried this, added code to detect a physical switch I have attached and a temperature sensor. Works fine so far.
Yes, you can do that with no problems.
The newer Shelly offer that, too. I have an ESP32 that does the relaying already (like you explained) – can I seamlessly switch? (the Shelly is running all the time, so I could just save another device running)
Hi!
Not sure about this as I don’t own newer Shelly devices, but I don’t think Shelly provides BLE routing to Home Assistant itself. I would guess that it just ‘repeats’ the BT messages forward to other devices.
Maybe asking a Shelly support would be a place to ask. 🙂
Hey, Thanks for the tutorial! I followed all the steps, and connected the ESP successfully to Home Assistant, but no bluetooth devices show up! How can I validate that the bluetooth is in fact working?
Hi!
First check the logs from the devices (ESPHome -> Bluetooth proxy -> logs -> Wirelessly)
You should see something like this:
[19:03:26][C][esp32_ble_tracker:645]: BLE Tracker:

[19:03:26][C][esp32_ble_tracker:646]:   Scan Duration: 300 s

[19:03:26][C][esp32_ble_tracker:647]:   Scan Interval: 1100.0 ms

[19:03:26][C][esp32_ble_tracker:648]:   Scan Window: 1100.0 ms

[19:03:26][C][esp32_ble_tracker:649]:   Scan Type: ACTIVE

[19:03:26][C][esp32_ble_tracker:650]:   Continuous Scanning: True
Of course the end device needs to be supported by Home Assistant as well and the distance between proxy and end device can’t be too long.
great doc, and i appreciate it because i know it’s not easy to write a doc…
but, maybe you can update it to the new HA scheme, that uses api key instead of password? it took me a while to identify what is wrong…
Excellent feedback, thank you!
I’ll update the scheme today 🙂
It’s quite difficult to keep a guide up to date when writing form is a blog 🙂
Thanks for the writeup. I’m trying to understand bluetooth_proxy and esp_ble_tracker capability and behavior.
The Switchbot blind autmators say this on their spec page:
BLE: ≥5.0 (Long Range)
Bluetooth Technology: Proprietary power-saving BLE with mesh support
I originally compiled my ESP32 device with only bluetooth_proxy, and they worked. So I assume the can use non-BLE BT connections as well.
In order to try and save battery usage on the devices, I then added esp_ble_tracker to the YAML config, and updated the ESP32. The devices still seem to work, but I’m unsure what connection they are now using… is there any way to tell? Do devices and the ESP32 automatically negotiate the best protocol to use?
Thanks for any insight…
Hi Steve and apologies for a for a late reply!
Unfortunately I don’t have an answer for this. I’ve only used this as Bluetooth Proxy and have not used ble tracker at all.
BT Proxy can take advantage of active connections as well, but enabling ‘active’ on the config. Active connections are limited to three simultaneous connections.
Maybe this bluetooth proxy documentation will spread some light for you: https://esphome.io/components/bluetooth_proxy.html